Author Topic: Project "Laubfrosch" - the trials hybrid  (Read 47926 times)

0 Members and 1 Guest are viewing this topic.

grumbern

  • Grand Gearhead
  • *****
  • Posts: 667
  • Karma: 0
Reply #90 on: March 07, 2020, 09:46:05 pm
Originally the mag is held in position by two short pins and strapped down onto the housing by a metal band. This had to be made. I didn't have the original one and also didn't want to spend a lot of work on it. I then had the idea to use a hose clamp. First I planned to cut a bigger one in half and form a hoose on both ends and weld them, but a buddy had a better idea: Just combine two shorter ones and use the existing hooses on each one!

So I bought two clamps with a range of 60-63mm. Another benefit about these is, that they are made from stainless steel and will not rust:


Dismanteled and combined they form this:


Also I turned two bushes from stainless, as the bolts in the housing only are 5/16" and the hooses are 12mm. I still need to change the bolt to a shorter one.
Mounted it looks like this:


Sometimes it can be so easy ;)
So long,
Andreas


Adrian II

  • Grand Gearhead
  • *****
  • Posts: 4,143
  • Karma: 1
  • Sharing my ignorance with anyone who needs it
Reply #91 on: March 07, 2020, 10:15:41 pm
I heard that back in the cold war, one of the ways the Soviet intelligence had for checking for fake Russian documents provided by the West was to check the staples. Western fakes used stainless steel staples which didn't rust, Russian staples did. Check your local auto accessories store for some rust-effect paint!

Seriously, though, that's a good bit of lateral thinking.

A.
Grumpy Brit still seeking 500 AVL Bullet perfection! Will let you know if I get anywhere near...


uhu

  • Scooter
  • **
  • Posts: 35
  • Karma: 0
Reply #92 on: March 09, 2020, 08:36:31 am
Great solution Andreas, and it comes very handy for me as I have (had) the same problem with my Bullet (swap the magdyno with a Lucas N1).

Ludo


Stanley

  • Grease Monkey
  • ****
  • Posts: 400
  • Karma: 0
Reply #93 on: March 11, 2020, 04:40:57 pm
Andreas,

I've been lurking here and watching your project for quite a while and just wanted to thank you for sharing what must be a heartfelt project. Those fenders and rod bearing are works of art! I admire your explanations and photography skills as well as your craftsmanship. Your tree frog looks like a wonderful ride.

Stan
Lurker on a Vespa


grumbern

  • Grand Gearhead
  • *****
  • Posts: 667
  • Karma: 0
Reply #94 on: March 11, 2020, 07:17:00 pm
Yes, I thought this might be useful for some of the owners of older mag-fired bikes. If you guys like my projects it's already worth documenting and knowing someone out there appreciates it keeps me going :)

For now I started working on the head. Nothing big, but the valve springs were weak and the smaller on of the exhaust even broken. So I went with a set of NOS Terry's:


The rocker bearings had some wear as well, so I ground them 2/10mm each and reamed the bore. Clearence is a bit more than standard now, but at least I have a clean surface. Only near the joint it left some out:


Allso the generator's field coil needed some refreshing. The wires were allright, but the binding completely deteriorated over the last 70 years and was repaired using cloth tape:


So long,
Andreas


grumbern

  • Grand Gearhead
  • *****
  • Posts: 667
  • Karma: 0
Reply #95 on: April 12, 2020, 08:57:26 am
Started cleaning the timing chest cover. Still needs repair and some modification:


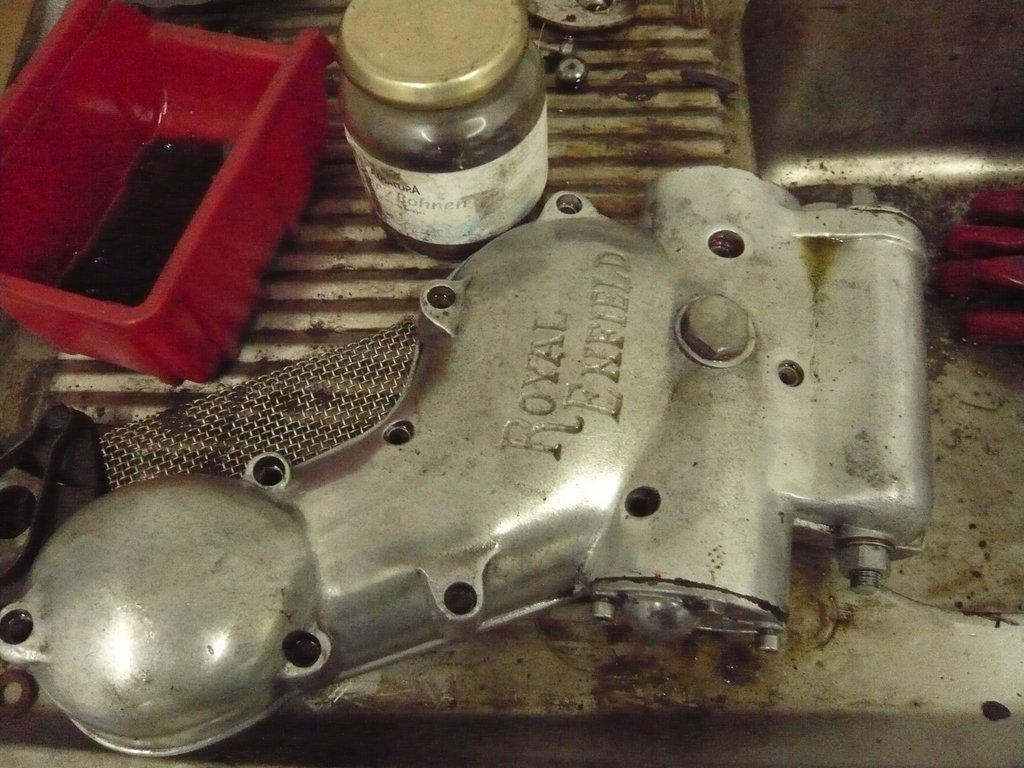
Allso I sealed the magdyno against the housing. Not visible, but yet important.
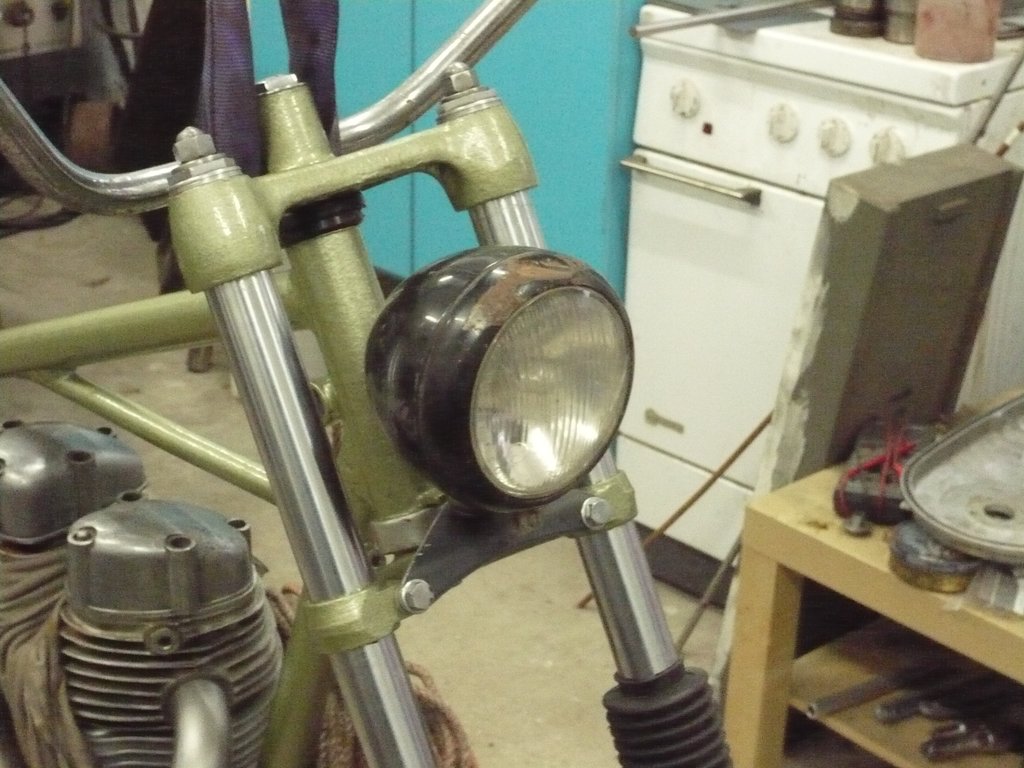
But I fabricated a fixture for the headlamp. Close, but ok!


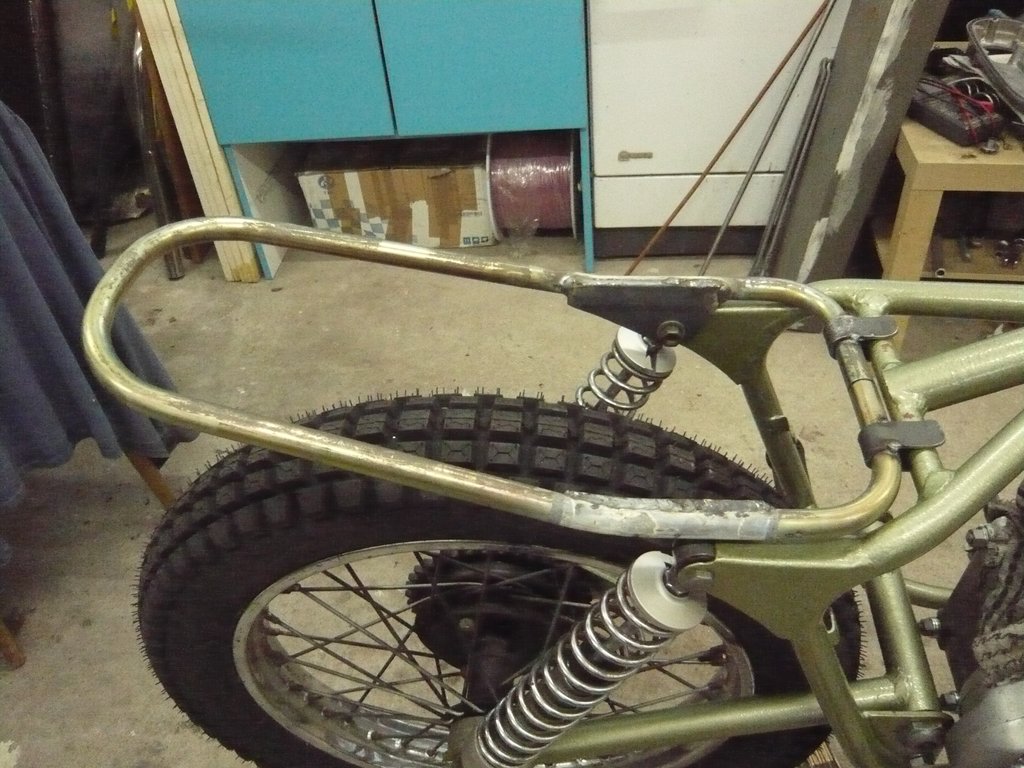
The rear subframe is coming along as well:


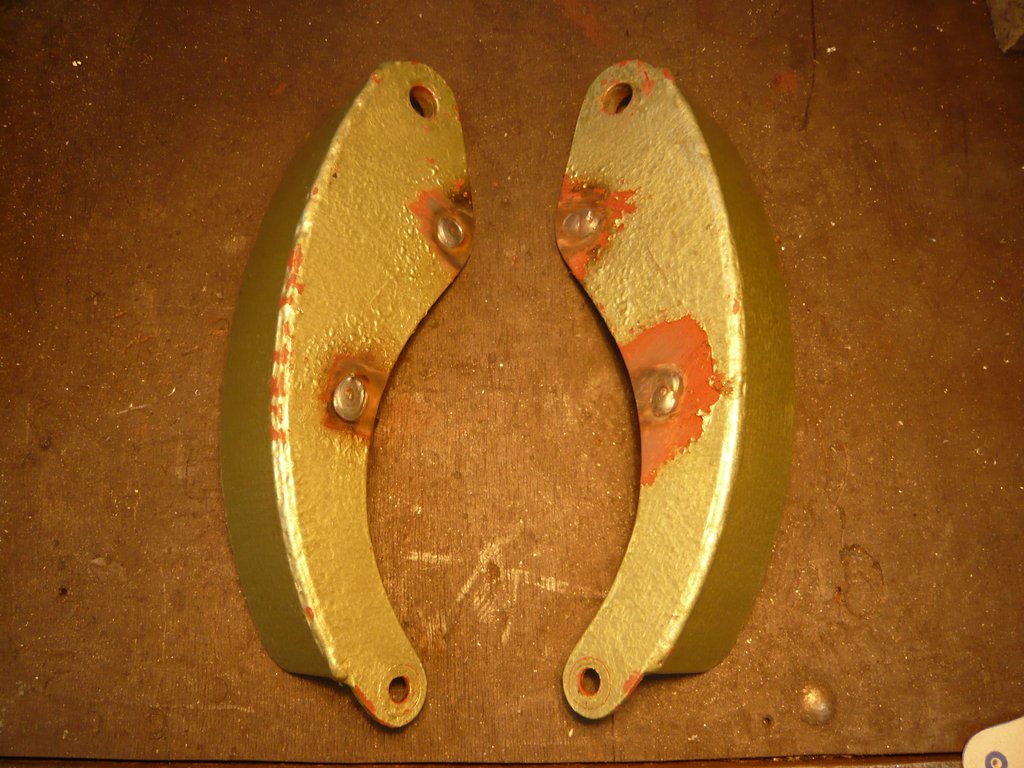
The rear mudguard brackets welded on:
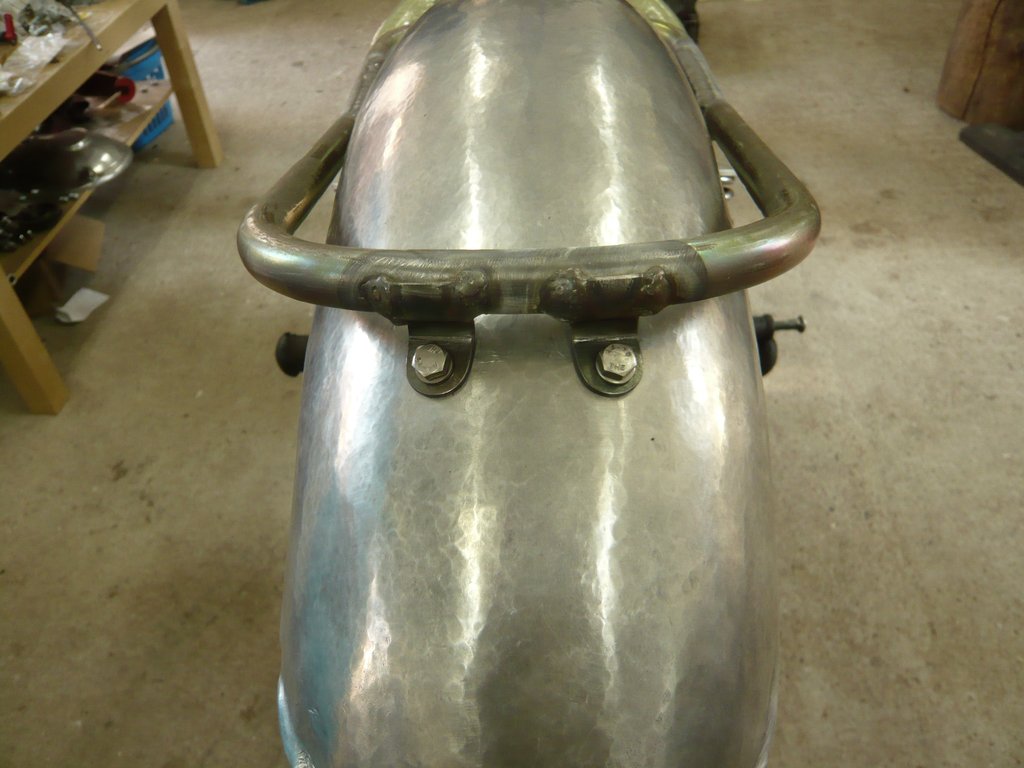


Looking cool:


But two German sayings happened to come true:
-Wer misst misst Mist. (Who measures measures crap)
-Was nicht passt, wird passend gemacht. (What doesn't fit, is made to)

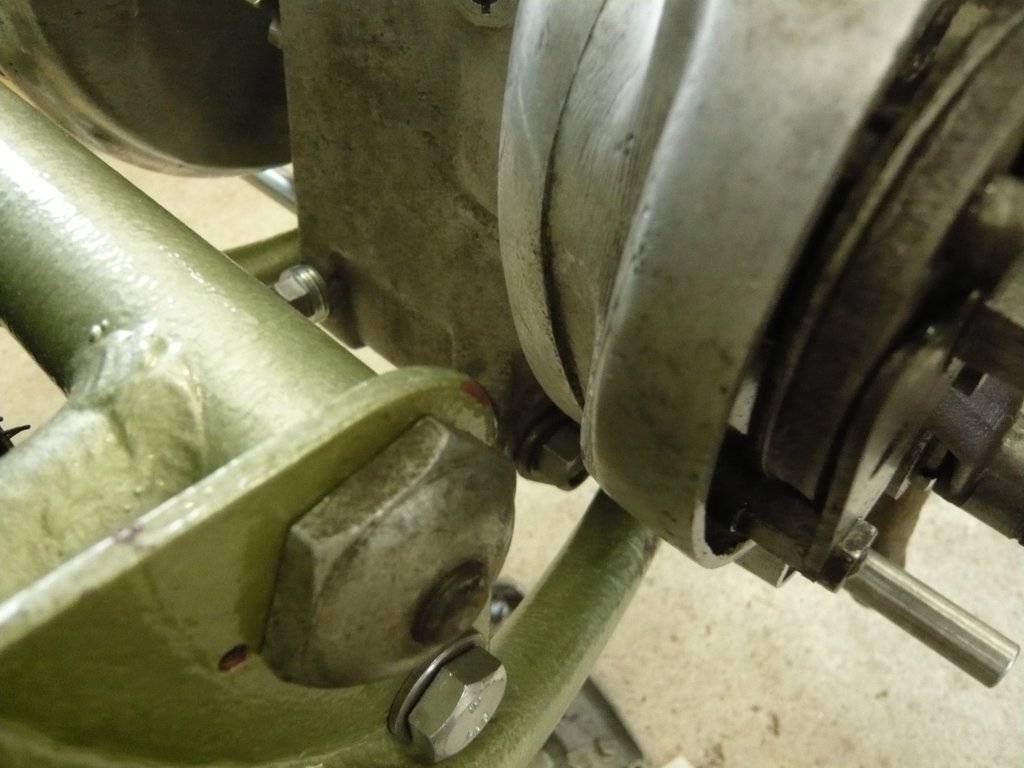
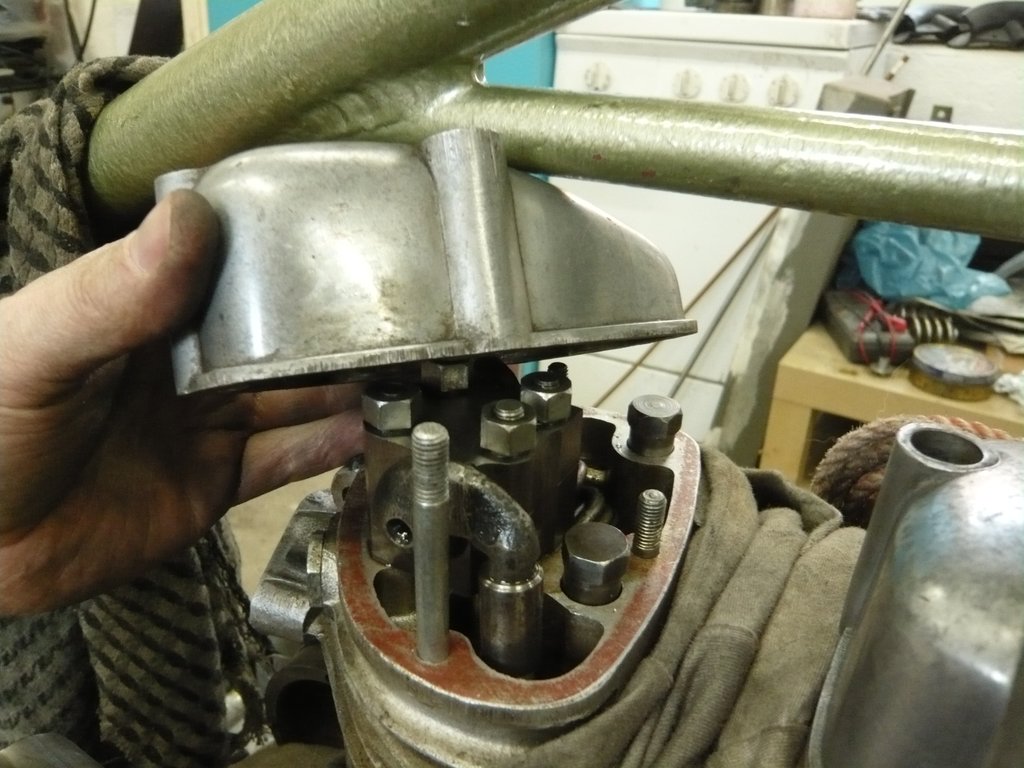
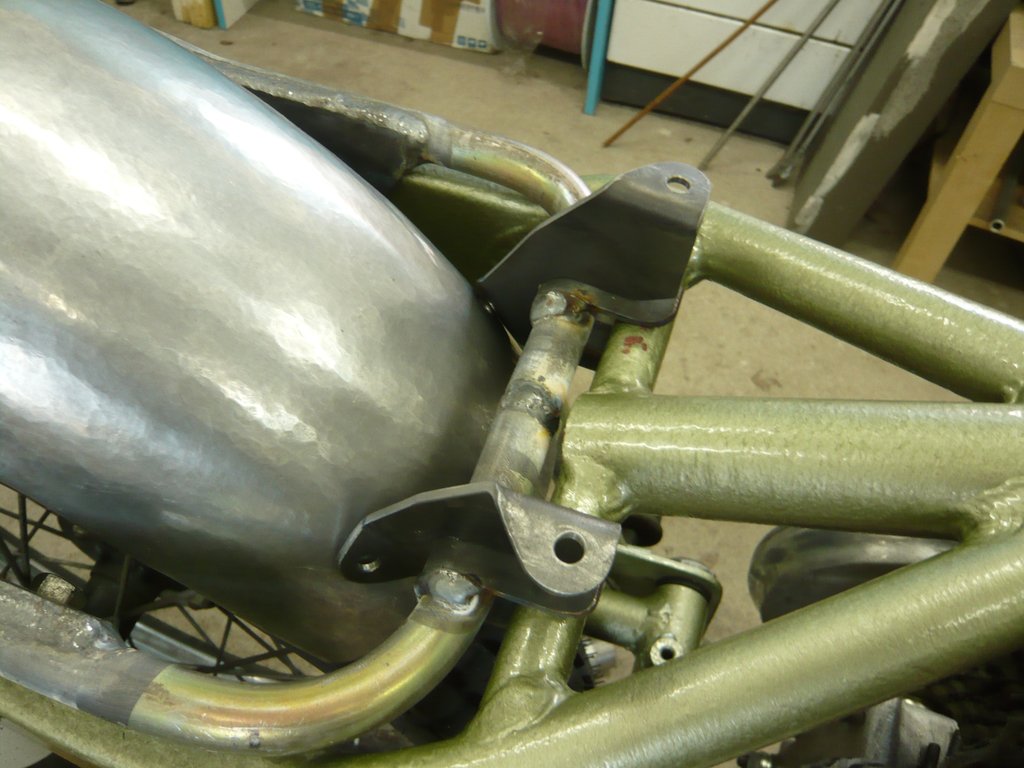
Because the gearbox colided in the rear and the rear rocker cover would not pass the frame. So I had no other option, than to weld some holes, alter the brackets and drill again:


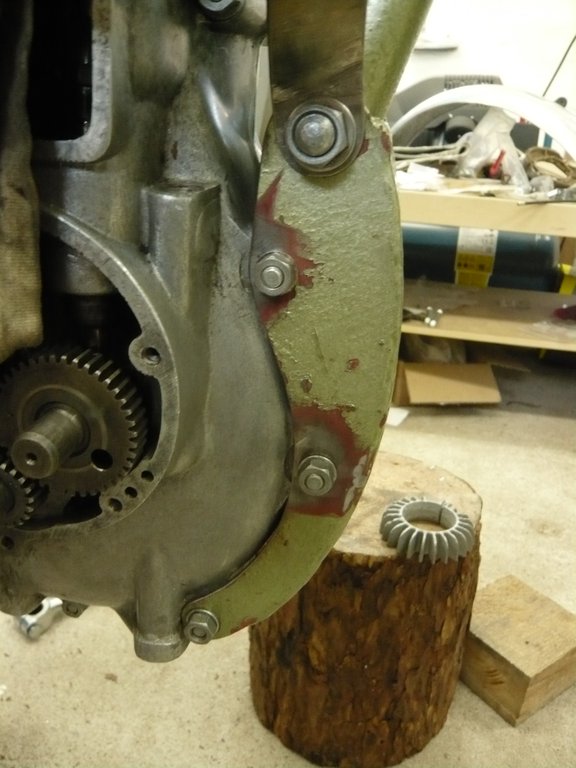
But now it fits. Both in the rear and on top there's enough space:


And on the subframe I added some plates for stiffening as well as for mounting the mudguard's front and the seat:


Unfortunately I don't have any more gas (hardware stores are all closed due to Corona virus) and have to wait to weld the parts. But I think you can guess how it's supposed to look like  :)
So long,
Andreas


Adrian II

  • Grand Gearhead
  • *****
  • Posts: 4,143
  • Karma: 1
  • Sharing my ignorance with anyone who needs it
Reply #96 on: April 12, 2020, 04:28:29 pm
Quote
Was nicht passt, wird passend gemacht. (What doesn't fit, is made to)

Preach it, brother!

Similar headlamp mount on the Electra-FT.


Coming on nicely, we're looking forward to seeing this one ready.

A.
Grumpy Brit still seeking 500 AVL Bullet perfection! Will let you know if I get anywhere near...


grumbern

  • Grand Gearhead
  • *****
  • Posts: 667
  • Karma: 0
Reply #97 on: April 12, 2020, 09:39:36 pm
 8)


grumbern

  • Grand Gearhead
  • *****
  • Posts: 667
  • Karma: 0
Reply #98 on: April 18, 2020, 09:34:39 am
The brackets are welded. Not very beautiful, but it will do  ;)


One can easily see how these brackets strengthen the braces and at the same time provide mounting points for the mudguard and seat:


More to come...
So long,
Andreas


Adrian II

  • Grand Gearhead
  • *****
  • Posts: 4,143
  • Karma: 1
  • Sharing my ignorance with anyone who needs it
Reply #99 on: April 18, 2020, 12:36:55 pm
Forget cute pictures of cats, what with this, Michael Waller's YamBSA scrambler and Project Binky, the REAL reason why internet was  invented is to provide lots of pictures of people making custom brackets!  ;D

A.
Grumpy Brit still seeking 500 AVL Bullet perfection! Will let you know if I get anywhere near...


Stanley

  • Grease Monkey
  • ****
  • Posts: 400
  • Karma: 0
Reply #100 on: April 18, 2020, 04:28:35 pm
This thread joins  Michael Waller and Tatro Machine as my favorites. Watching a bracket being discussed, designed and produced is my therapy.
Lurker on a Vespa


grumbern

  • Grand Gearhead
  • *****
  • Posts: 667
  • Karma: 0
Reply #101 on: April 18, 2020, 09:43:43 pm
Haha, yeah. The fork legs on this machine actually were a gift from Mike and I made the sprocket for his Trailblazer  -for the ones who saw that episode ;D
I allso enjoy these "how things are made" chanels and threads. I don't have the video equippment and probably would miss most of what I am doing, so pictures will have to do though ;)


grumbern

  • Grand Gearhead
  • *****
  • Posts: 667
  • Karma: 0
Reply #102 on: April 30, 2020, 09:03:55 am
The mag is assambled and does it's job:


And I started with the hammer again:


If you hit it long enough and remove some of the excess, something like this may be the result :D


Now it needs the left side panel and some good detail work and maybe I'll be able to tack weld it this week end.
So long,
Andreas


Adrian II

  • Grand Gearhead
  • *****
  • Posts: 4,143
  • Karma: 1
  • Sharing my ignorance with anyone who needs it
Reply #103 on: April 30, 2020, 12:57:35 pm
He's doing it again! All that's missing is the pictures of Andreas mining the bauxite ore and smelting it for the alumin(i)um sheet!  ;D

I hope that you're planning to use a small (2inch) Monza-pattern filler cap. How will you mount the tank?

A.

Grumpy Brit still seeking 500 AVL Bullet perfection! Will let you know if I get anywhere near...


grumbern

  • Grand Gearhead
  • *****
  • Posts: 667
  • Karma: 0
Reply #104 on: April 30, 2020, 01:38:28 pm
Haha, that would be just a bit too much ;)
I'm struggeling with the Monza cap. Already got one on my Café XS and it's become a bit "mainstream". My initial choise was and still is on of those winged caps they had on many bikes in the 40s and 50s. The tank mount will either be the same as in the original, by a bolt in the front and a clip in the rear, or even something special. not quite sure yet :)