One thing I dind't have in mind, was the main shaft. My gearbox originally was off a 500 twin, with a considerably longer main shaft. Unfortunately I only recognized this issue trying to mount the clutch. Marked on the rod is the length of the twin main shaft, compared with an Indian made:
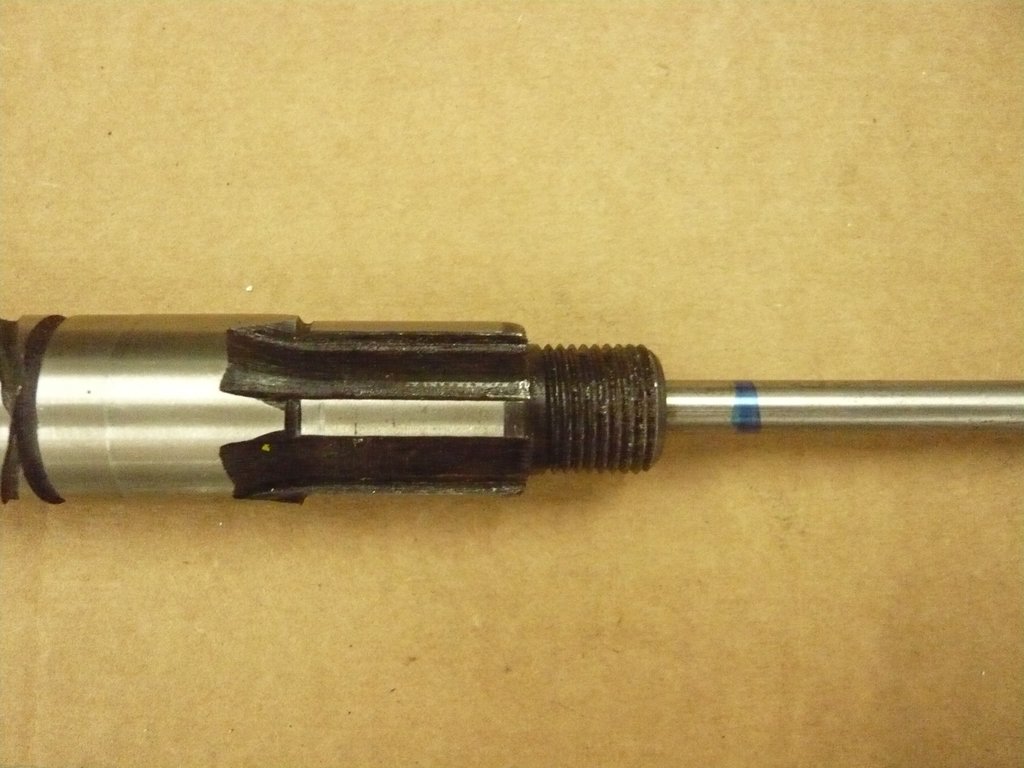 >>Link<<
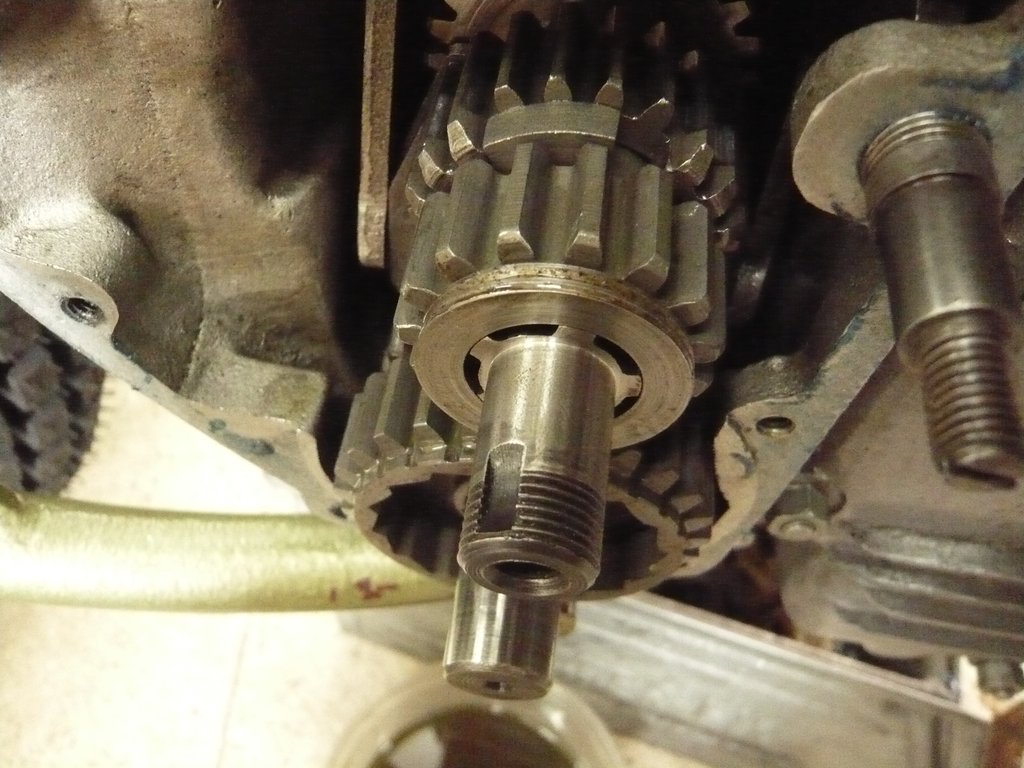
I still had this indian made main shaft lying around, manufacturer unknown. In hindsight, I should have dumped this one and taken a branded one. These no-name parts are a really bad fit!
That aside, Indian shafts are made for metric bearings, British ones are imperial. I didn't want to change anything on the gearbox housing. So the plan was adjusting the shaft from 17mm to 5/8".
First check runout:
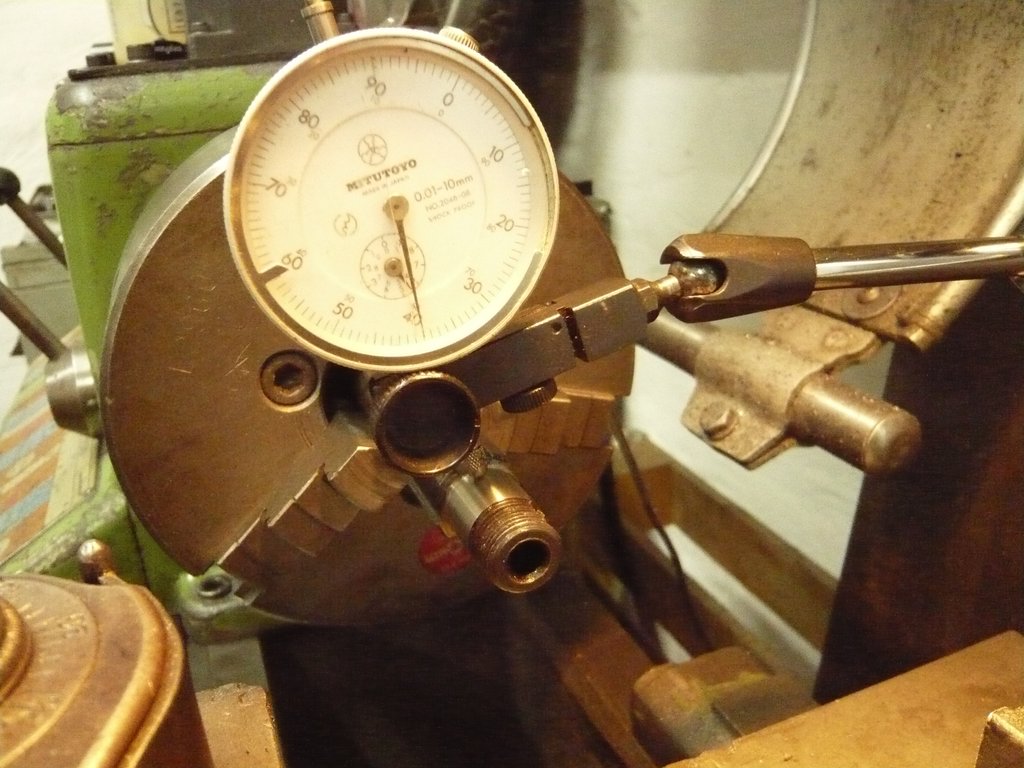 >>Link<<
At first turning went pretty well, until the last few tenths. Probably the shaft was too hard. One part of the shaft was within specs, and another still 1/10mm above! So what could I do? Improvise!
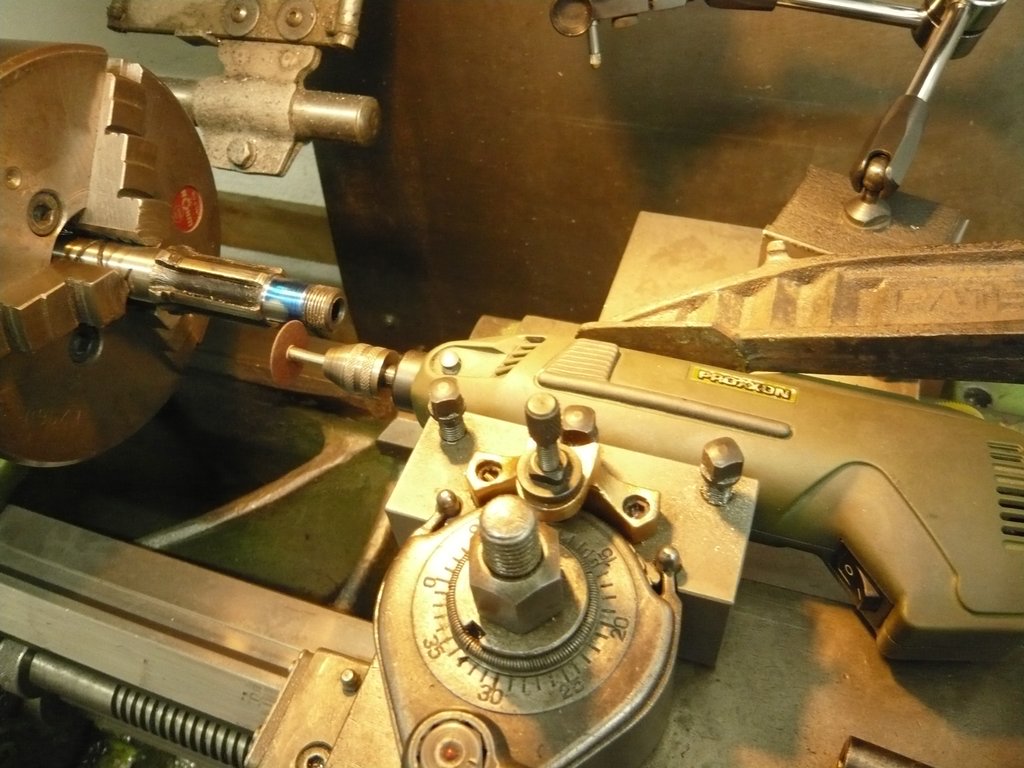 >>Link<<
One can easily spot the high areas:
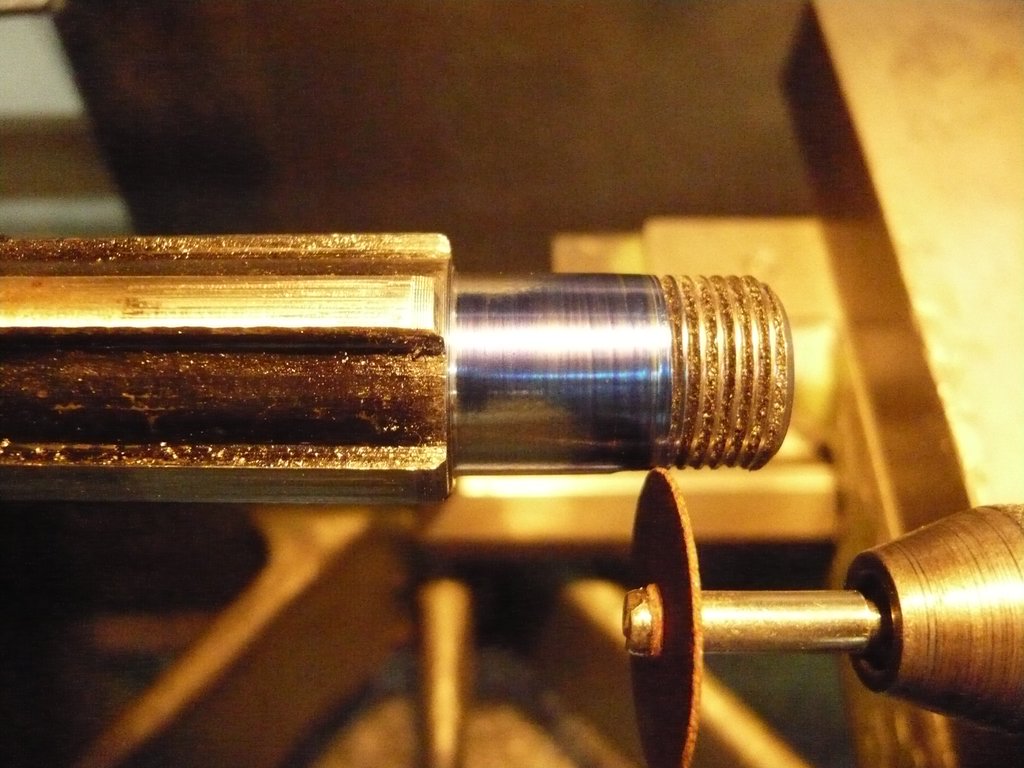 >>Link<<
No bashing please! This isn't what you might call ideal, but it worked

Taking measurements - they meet the specs:
 >>Link<<
I also had to adjust the length and the shaft profile. As mentioned before, this was a very bad fit. The clutch center also needed a bit of persuasion to take it's place. Well, let's see. I just hope it won't desintegrate

 >>Link<<
So long,
Andreas
 Topic: Project "Laubfrosch" - the trials hybrid (Read 48022 times)