If you're talking about the Emgo, yes thats it. Its loosely and lightly packed and secured by wire. I was actually thinking about taking the packing out to see what the effect is.

I was basically looking for everything that the megaphone is but 20-30% quieter.
Onto more mods!
_______
Air Box!__________
Well, after many months, a winter-long procrastination, and a lot of thinking, I finally finished my air box mod.
I originally wanted to just use the Ace air filter that is popular with the older iron barrels, but when I got it, I didnt like the fit because it stuck out too much and hit my leg at stop lights when my feet were down.
It does look cool from the side though!
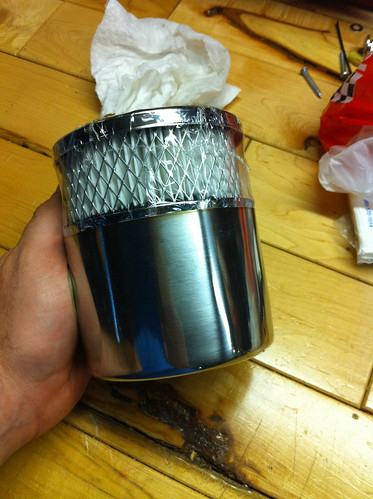
..so I started to make my own. here I am drawing a straight line around the can, and afterwards I belt-sanded it to the line. This is actually a laboratory beaker that happened to be just the right size for the air filter kit I found at Autozone (same exact top filter section that ACE uses).
Next thing to do was to remove the tool box - pretty easy, just a few bolts.
I needed a way to sandwich the top filter element and the bottom can I made, so I was thinking of using some edging, but I didnt like the look and later went with it just pressure fit (the can was the same diameter, and the filter's mount edge is flared, so it fits snug!
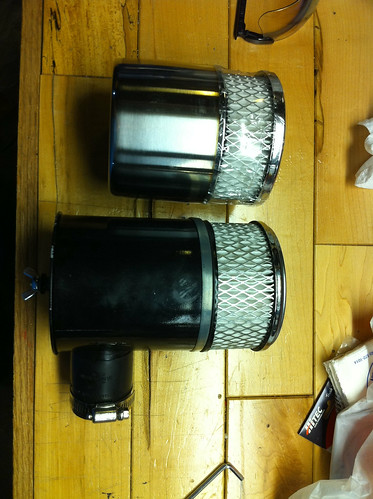
Here is the size compared to the ACE:
I used a hole saw to knock out a hole for the tube that joins to the plenum. Here you can see the filter sandwich and the center rod I used to hold it all together.
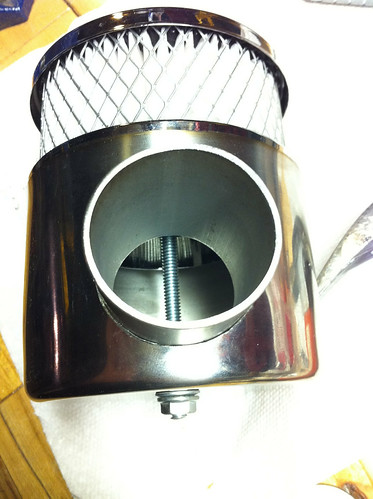
I used one of the oem holes to mount the center rod, it worked out to be a good spot.
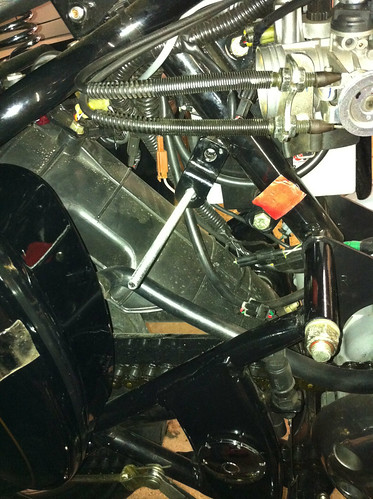
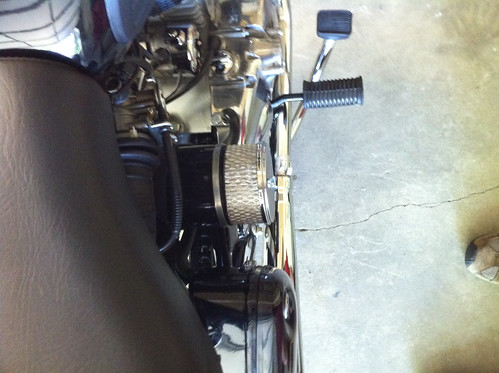
Test fitting:
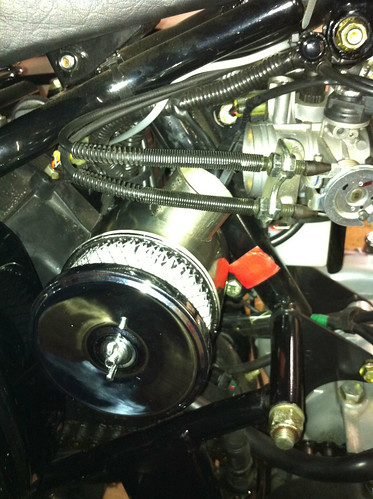
You can see the air box is much closer to the plenum now. Its hard to tell but its actually angled towards the center of the bike slightly, as well as towards the front quite a bit. This is because I tried to keep the air flow as straight as possible. I was worried that the MAF would get turbulent or a side-biased air flow and cause running issues. There is probably about a 30-45deg kink here. I originally was going to come straight off the plenum and then 180 back into the air box, but I liked this later setup better.
You can see here that I didnt butt the export tube right up to the can's edge. I drew it in towards the center of the can because I wanted air to be able to be sucked in from all areas around the pipe cleanly. BTW, the tube is the same ID as the bike's plenum.
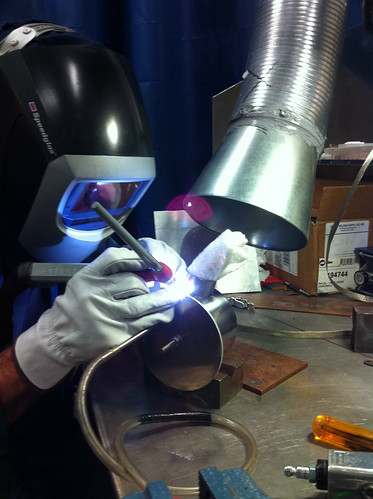
Onto the welding.. We filled the airbox with argon to make nice welds inside and out. My buddy Sam here is a fantastic welder - his trade!
Finally, I spent a lot of time cutting up a radiator hose I found at Autopalace. They were nice enough to let me parooz the plethora of radiator pipes they have. It was the perfect ID for the intake plenum and had the correct 45deg bent section. I used a hose clamp on the MAF side, but the can side is quite tight so I didnt bother. The hose was about $12.
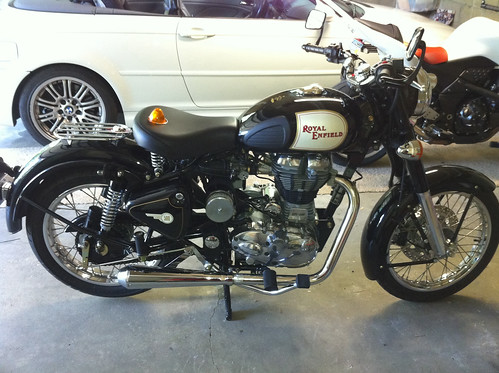
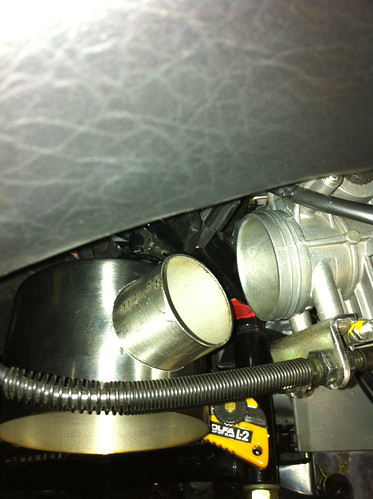
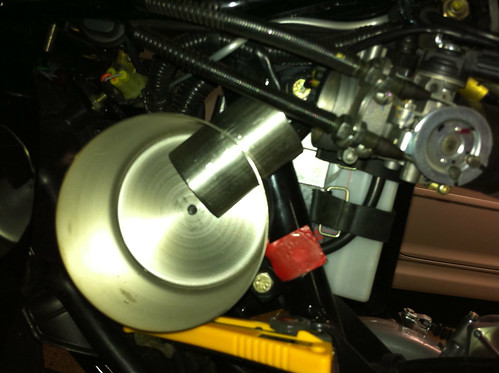
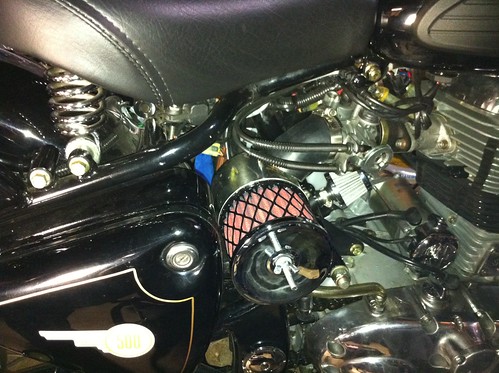
Here are some pics of it mounted on the bike. You will also notice that I used a little $7 crankcase air filter from Autozone. I used a bit of clear tubing and attached it to the other bolt that was left exposed after removing the tool box. I do notice some oil spray in the tube from time to time, but it hasn't climbed more than a couple inches yet. I left plenty of hose and a low spot so if it does start to collect, I will notice it. I guess this isn't as big a problem on the UCE as the iron barrel, but some have still reported lots of oil in their OEM air boxes, so it can happen.
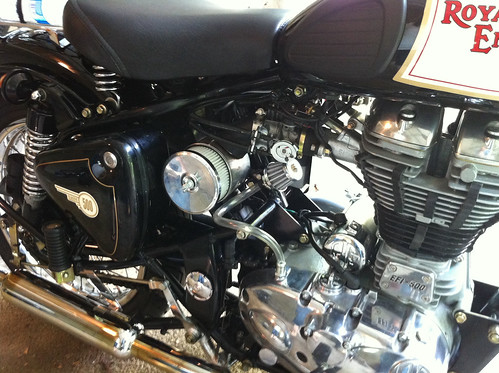
Note the discoloration of the EFI pipe. It looks a bit browner in person. Anyone else have this problem?

The width is great; it doesn't hit my leg at all at stop lights and if you look from the front, it is behind the motor's lowest fins, but still is drawing cleaner, colder air than the oem air box.
So, how does the bike run? Pretty good! I spent about 200 miles on the bike today so I got a good idea. I actually dont notice any increase

or decrease
in performance, but I did notice a difference in sound.
The UCE has a really nice honking intake noise when you get on it. I did run the intake sans filter (just panthose zip tied around the plenum) for about 1/4 mile just to see what it sounded like. Id say the way my setup is now is about 1/2 as loud as with no filter at all... so its still pretty quiet. The only running difference I've noticed is a slightly lumpier idle, so I may have to put my idle up 100rpm or so. I previously set mine as low as it would go without staling, so it was probably a bit low to start with.
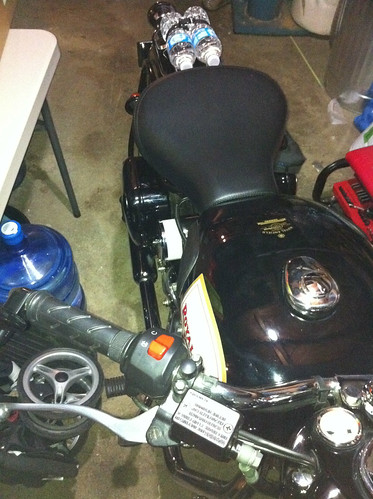
My main goals were to claim back that rear storage area and get more of that period look. I am able to store a bottle of water, the tool kit, and spare lights/fuses/wallet/sun glasses/whatever in the newly claimed space. I did have to duct tape off the holes that were left, but that was no big deal. The only other negative is the rain factor, but I NEVER ride in the rain, and even if the air filter was soaked, water would pool well below the air intake inside the can. I stopped worrying about this when I saw so many Harleys with exposed air filter elements.
So, what do you guys think!?
_______
EMGO shorty exhaust pipe mod with snuff r not__________

In my search for exhaust tone nirvana, I've tried a few pipes now. My favorite so far is the EFI, but I want it a bit louder... but not all the time. I decided to try a custom snuff-r-not setup with what I think will be a really loud pipe. I guess these things were popular on Hondas back in the day, and today there are even electrical versions available for Harleys and the like. This is what the old one looked like:

You just rotate the dial and it essentially closes or opens the pipe diameter. You can still find these really old things on ebay, but I wanted to make my own.
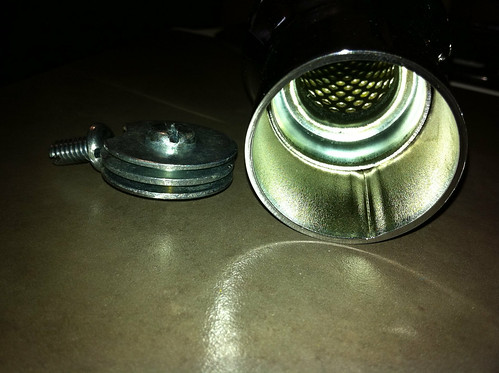
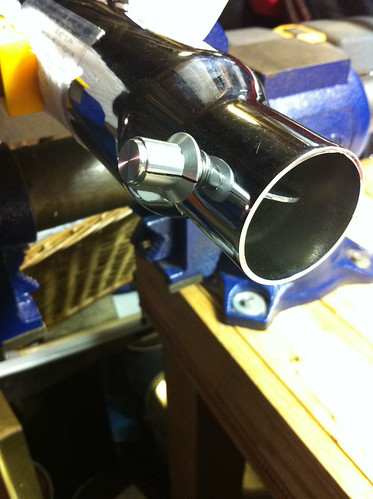
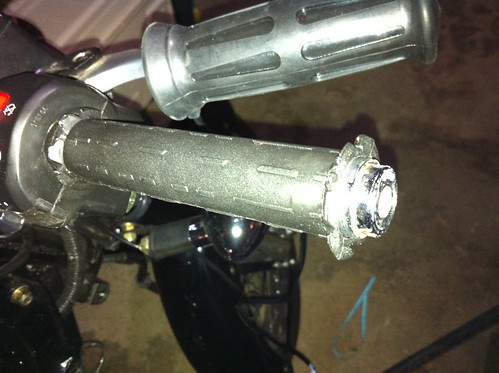
Here is the pipe and my planned washer/screw combo.

It occurred to me that I could stack washers for more or less baffling effect, but initially I'm just going to use one washer. Note the pipe has a removable baffle which runs the length of the pipe (about a foot long). This combined with the snuffrnot will let me tune the pipe quite a bit - more or less or no baffling and open or mid or closed snuffrnot.
I ran into a problem pretty early with the EMGO pipe - its the same ID/OD as my C5's headers, so I learned on this forum about pipe spreaders. Here is one from Harbor freight. You basically turn the hex end and it spreads the bars apart.
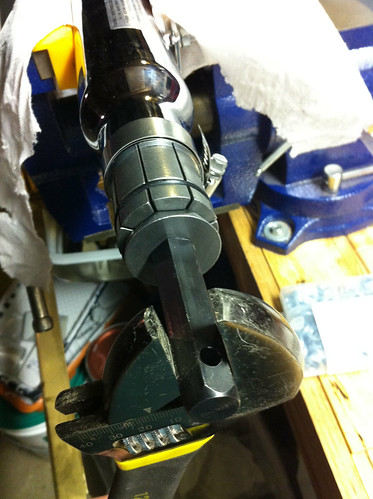
But it didnt go so well..
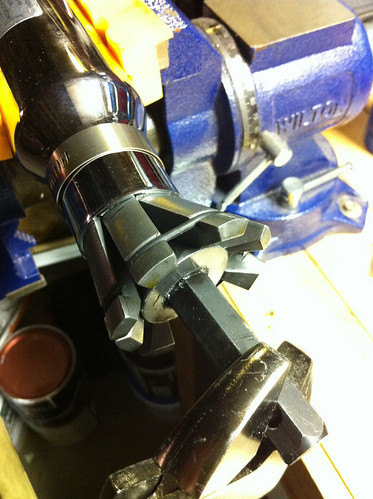
This pipe is strong!! I used a clamp loosely around the pipe so I could gauge the spread but I couldnt even budge the pipe ID. It simply broke the tool! Its ok, HF will take it back! Plan B - I went to a local Midas muffler and the mechanic was nice enough to open the pipe up for me on his spreader. I couldn't believe the power of that machine! It spread the pipe like it was butter. They didn't charge me but I gave him a nice tip for his time. Thanks Midas!
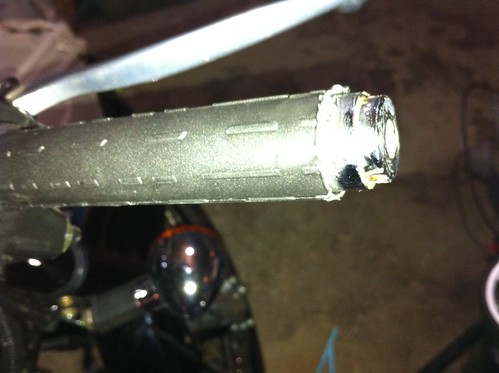
Here is a pic of the snuff r not installed. It took a while to put the right combo of washers and lock washers and springs in to make it move smoothly, but still keep is position securely. I ended up not using a spring, but just a lock washer, and a flat washer inside. A nut holds it together and a aluminum knob I had lying around went on too. I tapped the inside of it and it also uses two set nuts. I flattened the threads where they lie. I did have Sam weld that washer to the screw head, and I used a longer screw than was initially pictured above to allow space for the knob to grab onto.
Open:

Note that the line on the knob correlates with the position of the washer, so I'll always know how its angled.
Closed:

BTW, you'll note that my snuff-r-not will be before the muffler, not after. I am not sure how that will compare to having it at the end of the pipe as its historically been mounted. I wanted it to be close me so I could reach down and adjust, so that was my main reason for the forward mounting position. I can always pop a hole at the end of the pipe if it doesn't work mid-pipe for some reason.
So, how does it sound?! I dont know yet! I want to let the air box mod run for a bit till I go making another big change. Stay tuned..
..[update]..
Ok well that didnt work at all! The bike ran really badly - stuttering and popping, so I took it off after a handful of miles. I think this bike needs a longer pipe/backpressure to run properly. I think the shorty was just too short! The baffle did seem to help the noise a bit, but perhaps it would be more effective at the end of the pipe.
Here are a couple pics of it on..
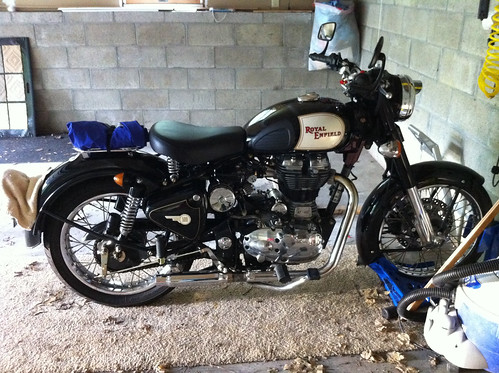
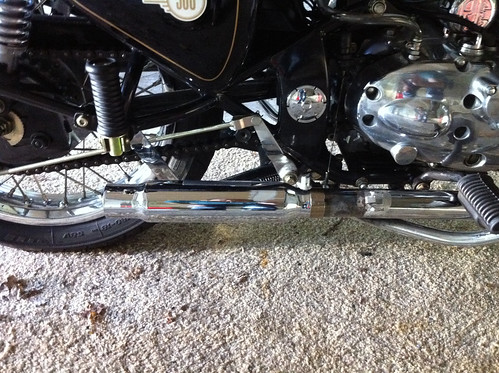
Oh well, it was fun to try.
I've put the EFI back on for now...
_______
Air Box part deux!__________
The air box has been really great, but I felt like it maybe could use a bit more air. I stuck a second filter on top of the original and extended the center threaded rod.

..and it ran better! Much smoother, perhaps a bit more power, and a bit more noise, which is a good thing - intake noise sounds great on these bikes.
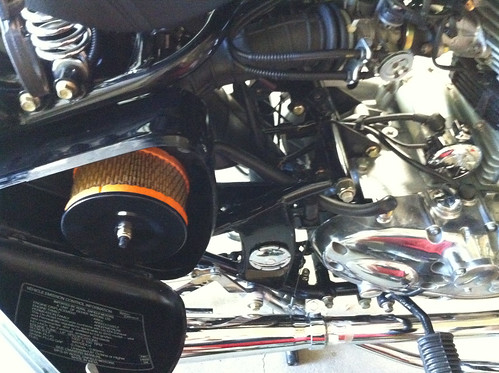
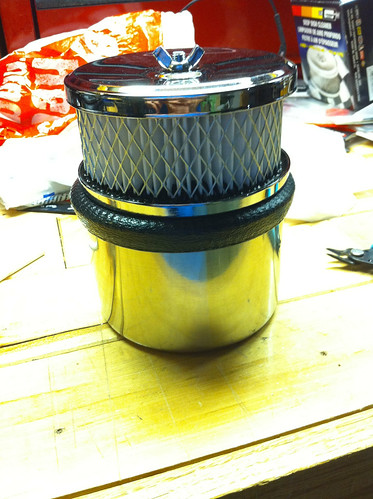
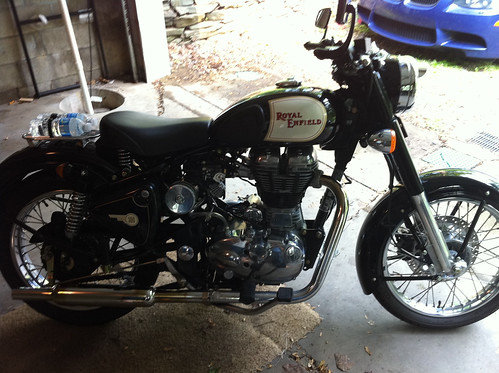
So I went and ordered a couple K&N filters that were 4". I ended up liking this one the best, I think it looks hot on there!
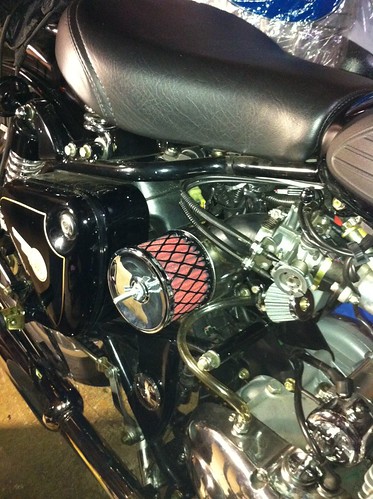
it has a nice retro feel to it. The outer mesh is metal. The bike runs great with this filter.
_______
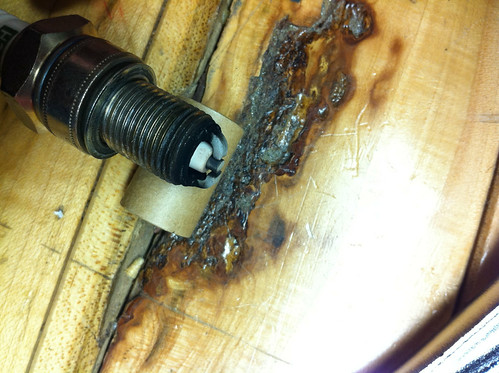
NGK plug!__________
I also replaced my plug to a NGK br6es (I think I have that # right) that everyone seems to be installing, and in the short run I've taken with it so far, it did improve the running of my bike slightly. It seems a bit smoother. Here is the plug I took off.. does it look ok?!
_______
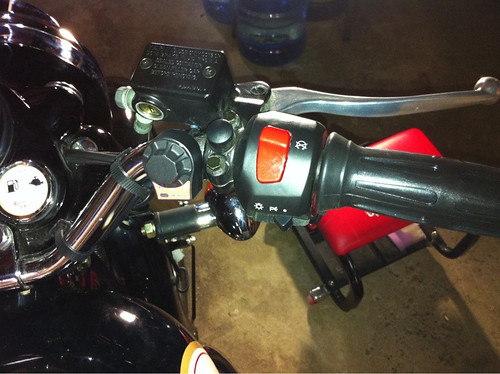
Heated grips!__________
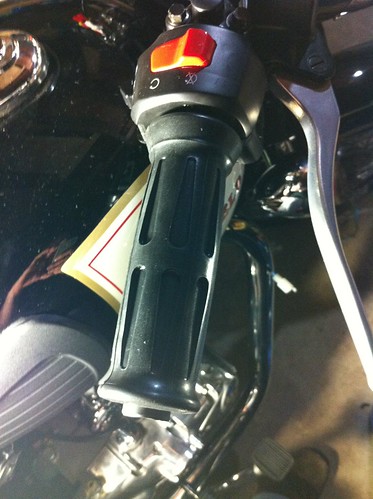
I ordered set of these grips off of amazon. I liked the look of them and the controller switch looked like quality from the pics.
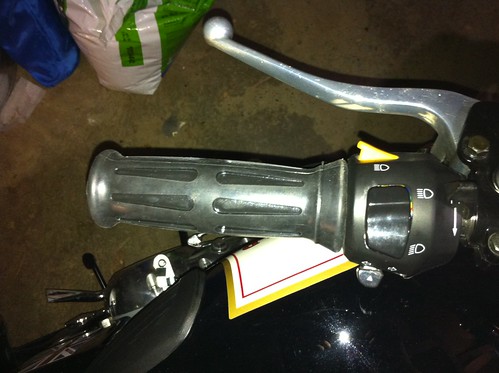
The first thing I had to do was get the stockers off. The left side was easy, it just pulled right off. The right was a bit harder, but once I coerced it past the humps, it came off. I thought this step would be harder than it was. Underneath, the throttle side has bumps to the left and right side of the throttle sleeve.
I had to snip those off for the aftermarket grip to fit.
The aftermarket grips are closed on the end, so I had to carefully slice off the ends so that I could put my Napoleon bar end mirrors back on. you can see here I used a small piece of shrink tubing to cover the chrome that was exposed on the right side. I had previously used rubber tubing, but thought I'd try the shrink tubing this time.
Here is the left grip:
Next up was to mount the switch. I spent a while looking for a good spot but there really isnt one that is reachable and unobtrusive, so I just decided to throw it on the bar with the enclosed mount. Its pretty secure on there now.
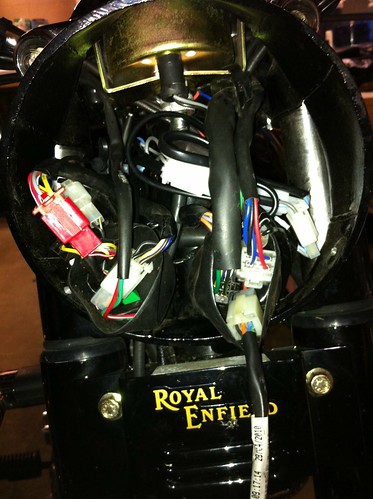
Next up was the wiring. I tidied up all the wiring from the grips to the headlight nacel. I used the stock straps. This is the best place I could find to tap ground. I didnt want to strip more wires than I had to in the nacel, so I used this right turn signal mount bolt.
There are several switched power wires behind the headlight, but I chose this one because it was the largest gauge and went to the right grip. Presumably its starter headlight related. I stripped back some of the jacket and soldered the power lead to it, then bundled it back with electrical tape.
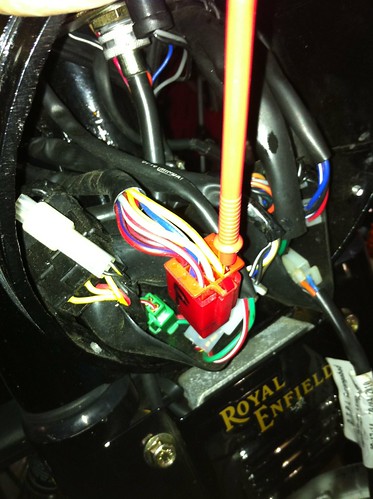
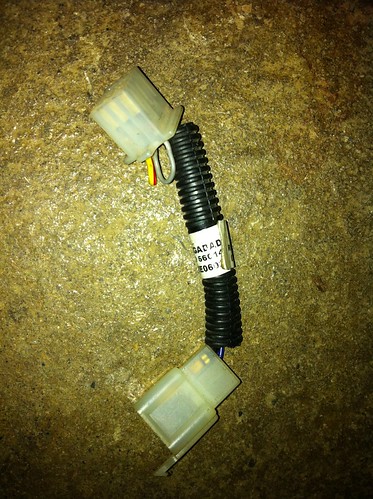
I also removed the US market dongle while I was at it.. Now my light switches work like magic! I also did this so that if I was running the bike at idle with the grips on, I could reduce some of the load by shutting the headlight off. But so far, the bike seems to work fine with the grips on high.
Here is a pic of all of the wiring tidied up. There is plenty of space behind there for wiring..
Overall the grips are great. They get quite warm on hot. I did notice that the right grip is quite a bit hotter than the left, which sucks, but I'm not sure how it reacts after long periods of time. I was wondering if because the left grip is right against metal if the metal was acting like a heat sink. If it was, after time the left should catch up to the right. We'll see! I did ride with them on today, and it was sure nice to have toasty hands. Fall rides will be a bit easier now..
The grips are also quite a bit wider profile than the stockers, and they get thicker in the middle, which I really like. The bike feels bigger in my hands now, more muscular somehow lol!
It also surprisingly gives the bike a slightly different look at the bars, a little more chunky. I like that.
I also got (made) a new keychain dongle. Bonus points for anyone who knows who this is.
Next mod..
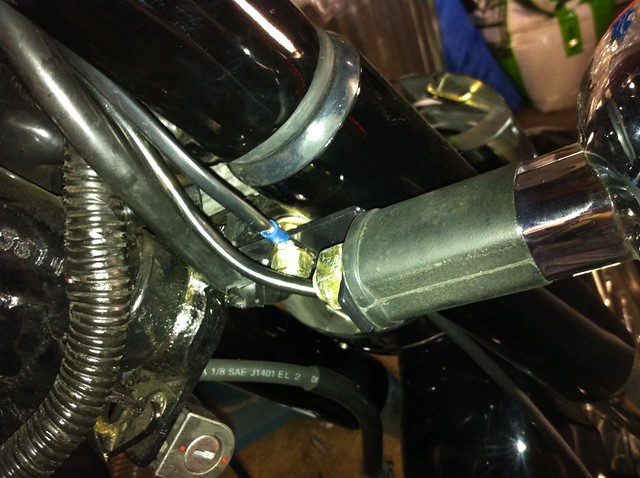
Exhaust heat shield to cover the ugly transition bit.
 Topic: My C5 accessory blog.. (Read 16897 times)