My G5 Deluxe is indoors, sipping at the HARBOR FREIGHT $9.95 Float Charger today, & looked achingly good with the New Seats, yearning for warmer weather, ready to go, & aimed at the garage door.
I was only able to stop & share a moment with it, before heading out to run errands in a vehicle with a heater.
I have to ask Craig..... Is it really that cold down there in Georgia, or are you just spoiled with all the beautiful weather throughout the rest of the year?

Yesterday afternoon I went ahead and got my new alternator installed. I think I had mentioned before that the last time I installed a new alternator, the rotor was rubbing just a little bit at the bottom of the alternator. I didn't think anything of as it was a really tight fit around my adapter bracket and didn't have any play or adjustment. It was rubbing, but it was also working so I just let it fly. Well, it only lasted about 4 or 5 months before the alternator completely burned up. Fortunately, I was able to catch the problem before I got stranded somewhere because I've had electrical/charging problems on other bikes (including this one) so I test my batteries on a regular basis.
First of all, my new DeWalt Impact and Drill saved the day! The only bolts/nuts I couldn't use my impact on were the foot peg, exhaust mount and muffler mount. While starting to pull the foot peg, I noticed my primary case was loose and moving around. AGAIN! Sure enough, the 3 pan head Witworth allen bolts that bolt the primary around the crankshaft were loose again. It is really hard getting those damn thing tight, I think this was the 3rd time it has happened to me. If they loosen up again I will be very surprised, because I removed the alternator adapter bracket and used a T-25 Torx bit and my 112ft# cordless impact to drive those bitches in this time! "Yeah Mo Fo! Now What?!"
 A great tip to remember when dealing with allen heads that are stripped. Can't get a metric or SAE to work? Use a Torx! They work almost every time!
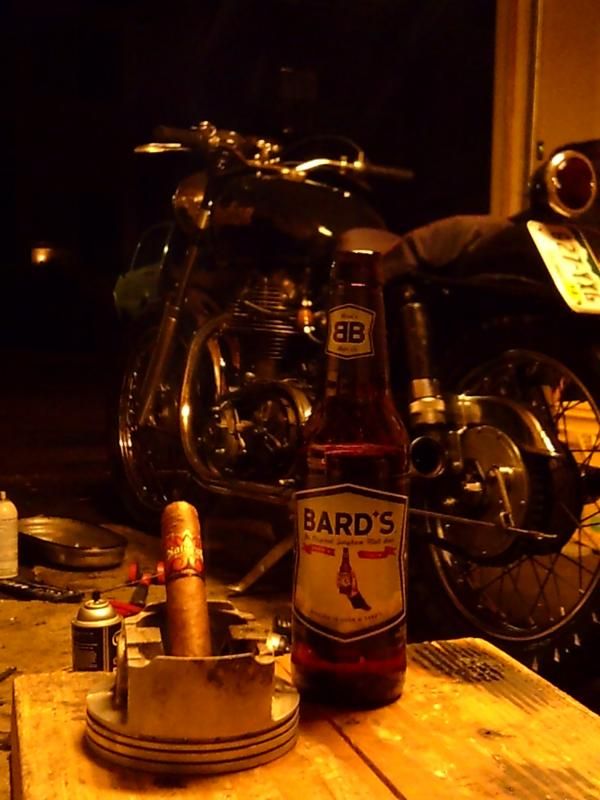
Put the adapter bracket back on, slid the alternator on and was having the same problem as before, real tight on the bottom edge. So I broke out my new DeWalt cordless drill this time and opened up the alternator mounting holes from 1/4" to 3/8", cleaned it off good with brake cleaner and compressed air, slid it back on and NOW I have some play. Got out the feeler gauge and set a .005 gap right next to the one bolt/mount and tightened it up with the impact. I then went around with the feeler, tapping here and there with a rubber mallet until I had a nice .005 gap around the whole ring. Took about 10 tries, which would normally equate to about 30-45 minutes of wrenching the nuts on and off trying to get it just right. But with the cordless impact it only took about 5 minutes to get it perfect! If you have never had the chance to own/play/use a cordless impact, you have no idea what you are missing out on! The last time I did this job (by far NOT the first time I've pulled the primary cover for whatever reason) it took me about 5 hours to do this job. Last night, it took me 3 hours and I wasn't even working that hard on it. In fact, I even took a break to smoke a cigar.

Everything is all back to normal in the electrical department.
Scottie
 Topic: What did you do to your Royal Enfield today? (Read 1850078 times)