OK, thanks to our new hosts the picture posting function seems to working with my current choice of photo hosting web site, so I can finally post the summer's update, FOUR MONTHS late!
Now where was I?
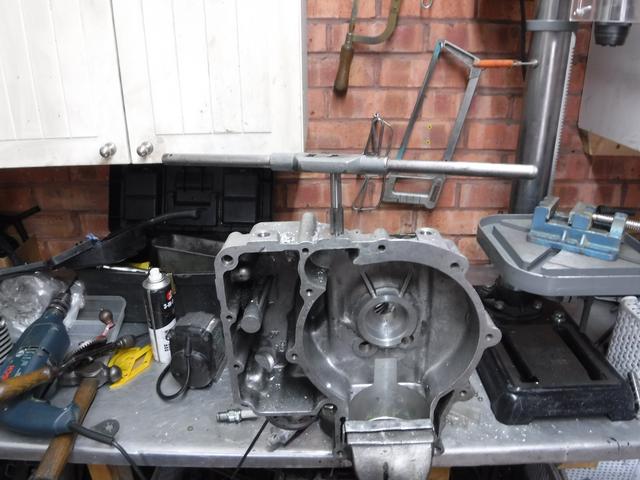
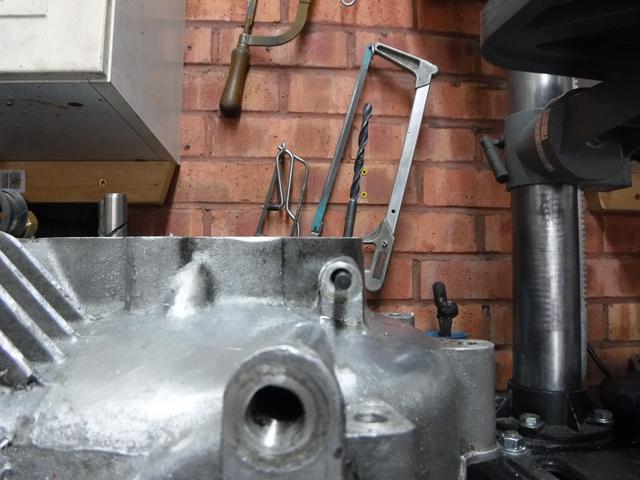
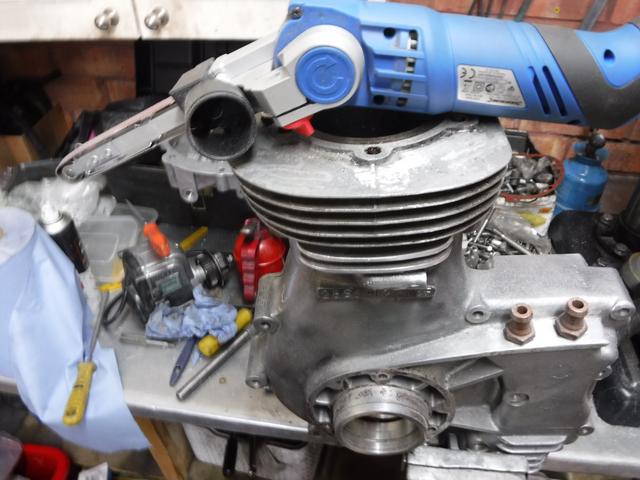
Oh yes, timing side crankcase broken, replacement found.
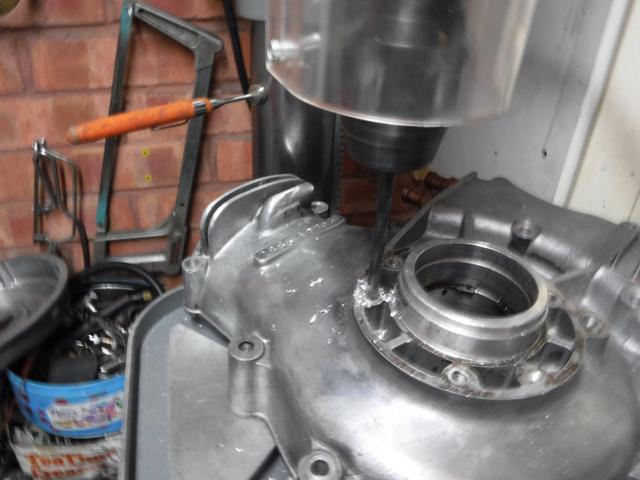
Well, if you DO extend the bore for the main bearing housing to fit the NU2205 it means that the extra width of the new bearing will foul an oil way.
Never mind, a little removal of alloy in the area will let the oil flow round the outer bearing race to reach the rollers.
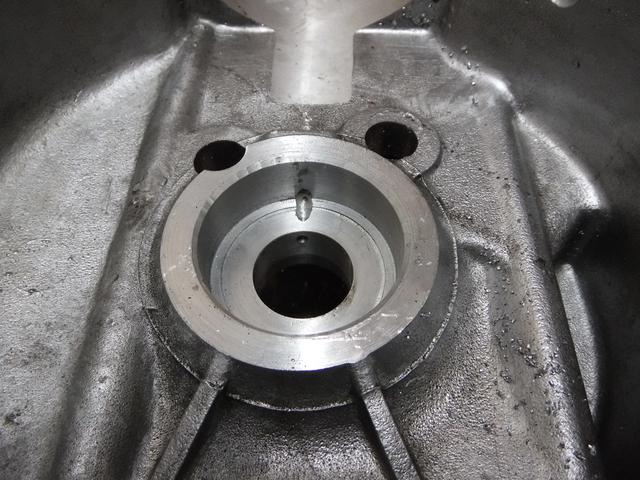
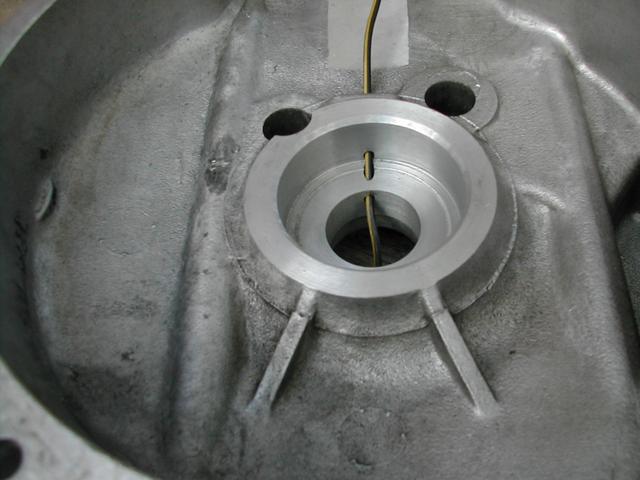
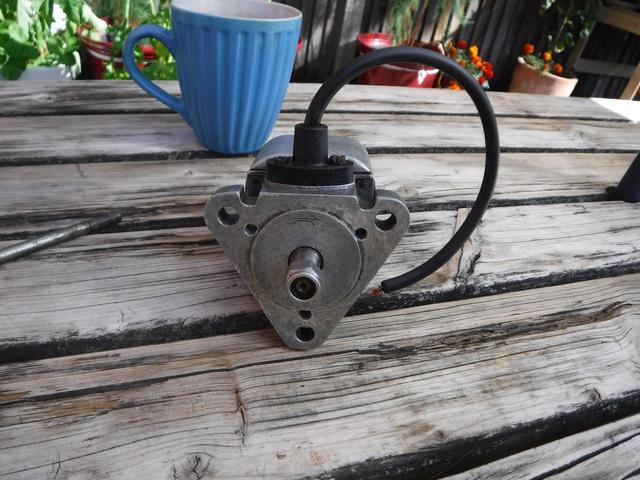
After my experience with an Electra-X big end failure, there is no way this thing takes to the road without a magnetic sump plug. This one gives you an idea, though I’ve just ordered a snazzier version which can be lock-wired into place.

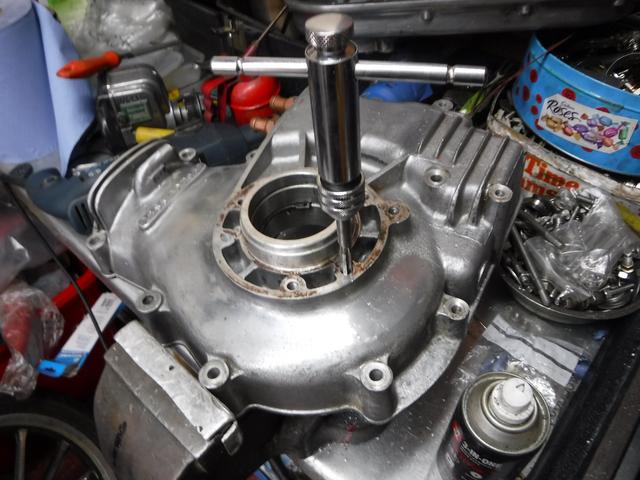
Only trouble is there’s no hole for one, though there is a nice reinforced section of the timing side crankcase close to the feed from the sump to the scavenge plug. Time for my 0.5 inch drill and the 14x1.25mm taps (spark plug thread!).
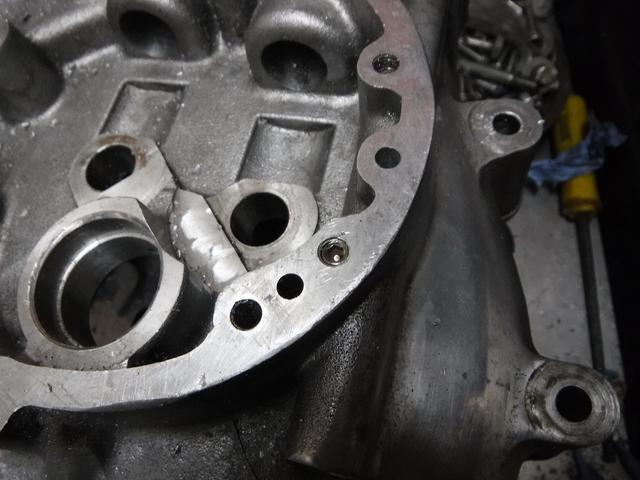
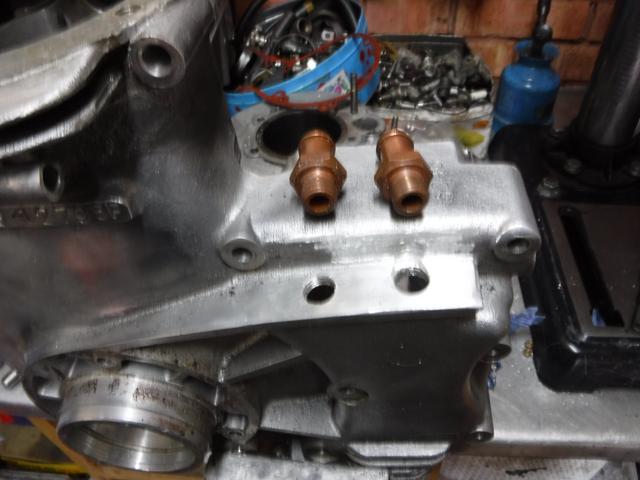
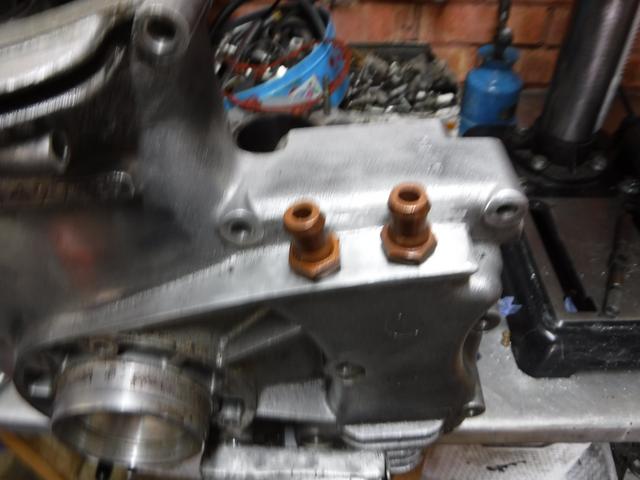
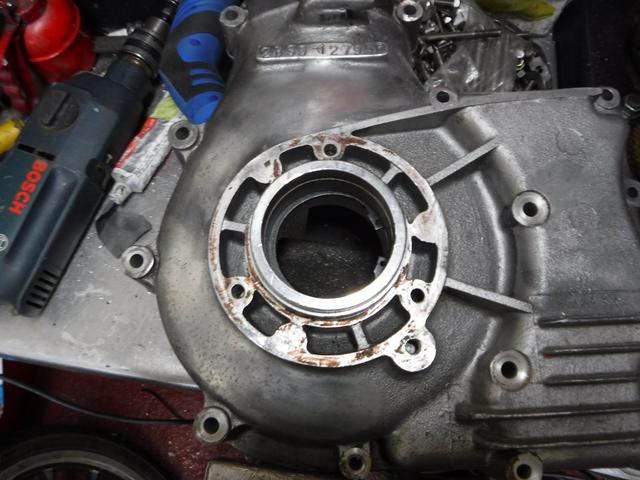
NEXT job. How to make these classic Bullet cases work with the AVL/Electra-X timing cover? The AVL re-design moved the oilway that feeds the rocker pipe for some reason. Fortunately, this being a recent enough set of cases the blob of alloy is already there for it, the factory wisely arranged for the crankcase castings to be adaptable for classic OR lean-burn Bullet production.
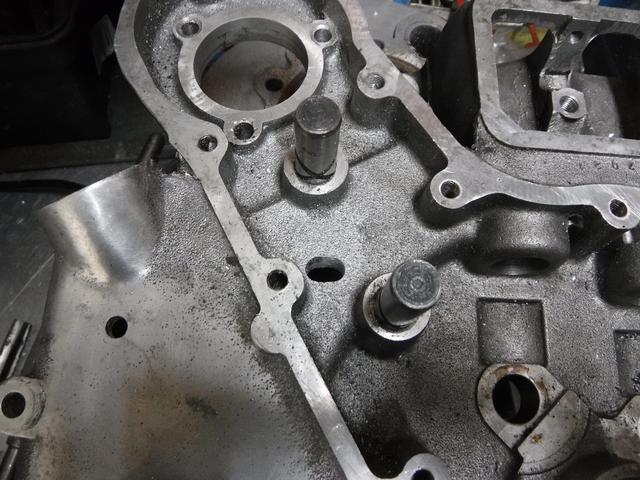
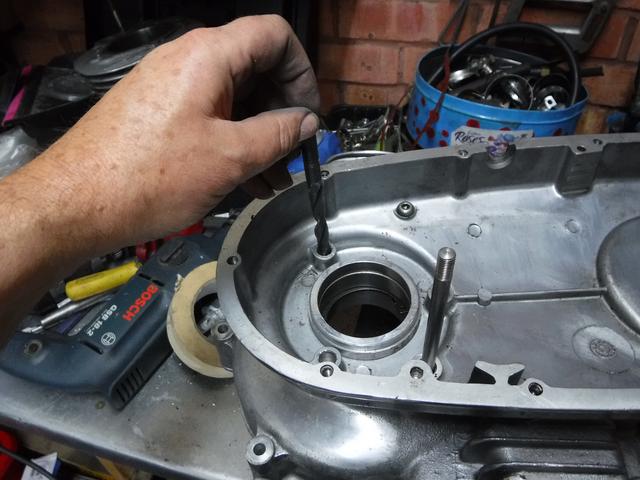
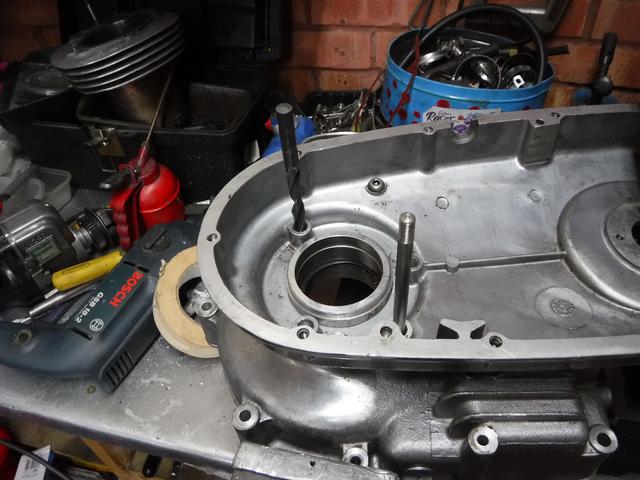
So we need to extend the drilled hole which is the current rocker feed supply from the rocker feed banjo bolt housing up to meet the position of the new feed to supply the AVL/Electra-X timing cover, and drill a hole in the joint face where the timing cover sits, using an old Electra-X gasket to mark the position of this hole. Just like the meeting of the English and French bores of the Channel Tunnel in 1991, it all meets up a treat! Note the original hole for the rocker feed side with the 6mm allen screw, the hole has been tapped 6mm for a grub screw to seal it off.
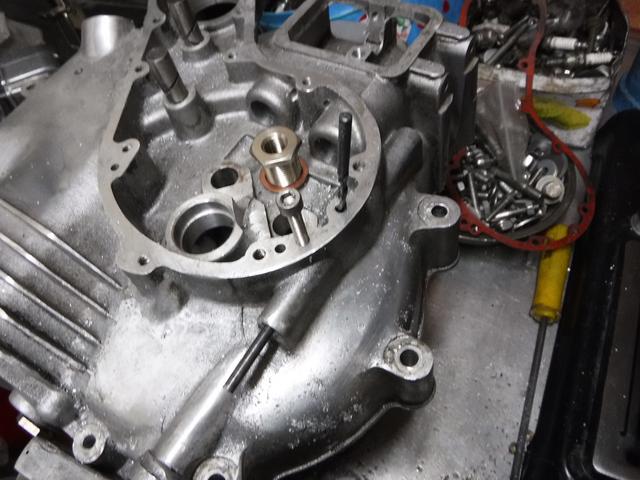
What you CAN’T really see is that the hole into the joint face actually has to be drilled off-perpendicular otherwise the holes won’t meet up. More like 100 (or 80?) degrees, this shows you more clearly.
So here is a pile of dinky 6mm grub screws made of best stainless chineseum, and here is some Loctite.

That’s that taken care of.
Just re-check with the old Electra-X timing cover gasket, it actually lines up better than this.
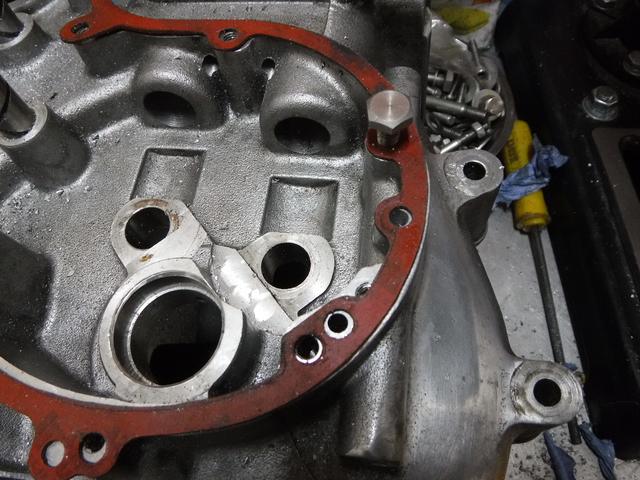
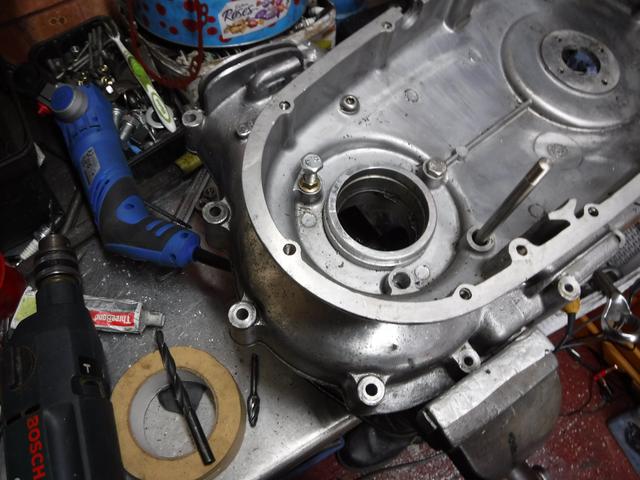
So after much cleaning out of swarf, we have a nice new oil way. These are now officially lean-burn Bullet cases.
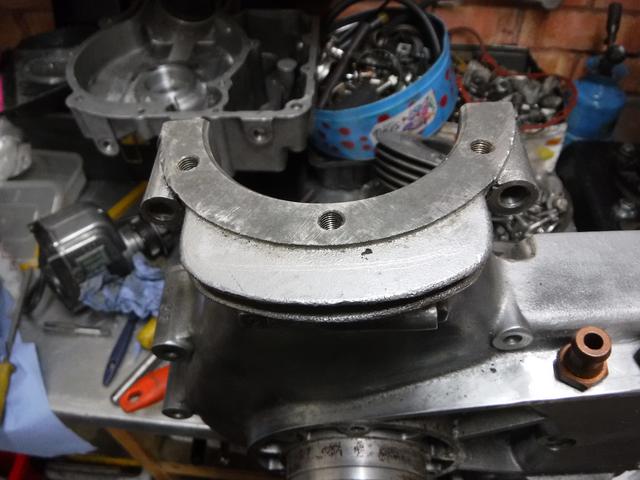
Meanwhile, what does every custom Bullet engine need? That’s right, a great big hole bored into the oil tank.
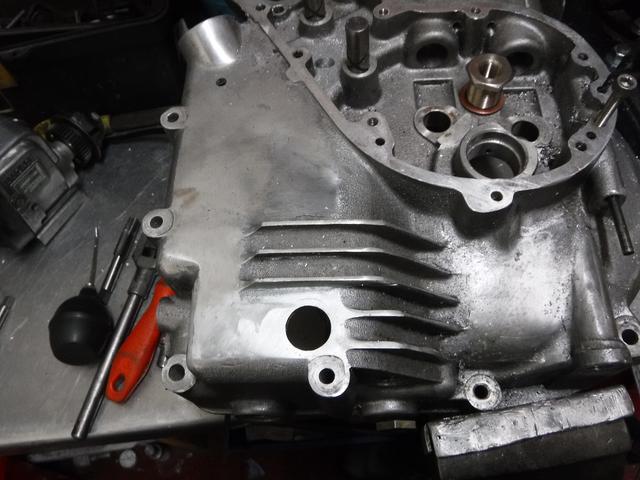
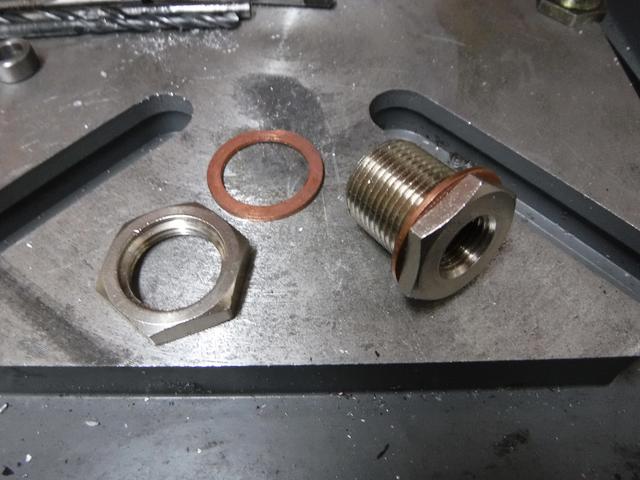
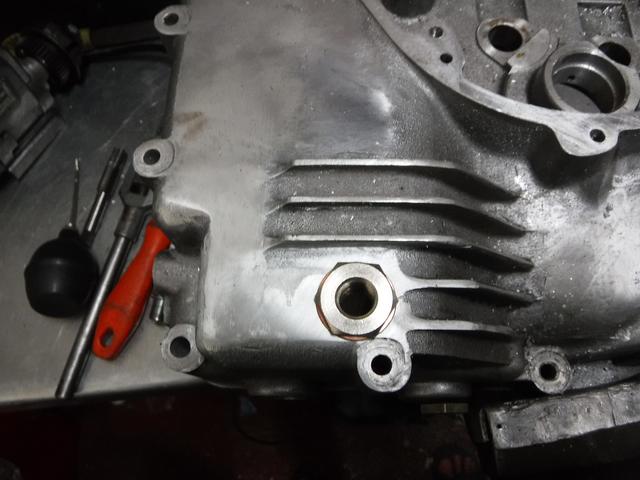
Ideally I would like to have been able to tap that for 0.25 inch BSP but the metal is almost perilously thin at that point, so I shall have to use the bulkhead fitting seen lurking in some of the previous pictures with a big nut on the back and a copper washer either side (and possibly half a tube of Tri-Bond. Ahem). Here’s a better shot of it.
That doesn’t look quite so bad.
OK, now what is this for? The answer is an oil level gauge so that I can easily see where the oil has got to. There’s another hole drilled to take a 13mm stainless P clip, the one shown is a bit bigger but will give you the idea.
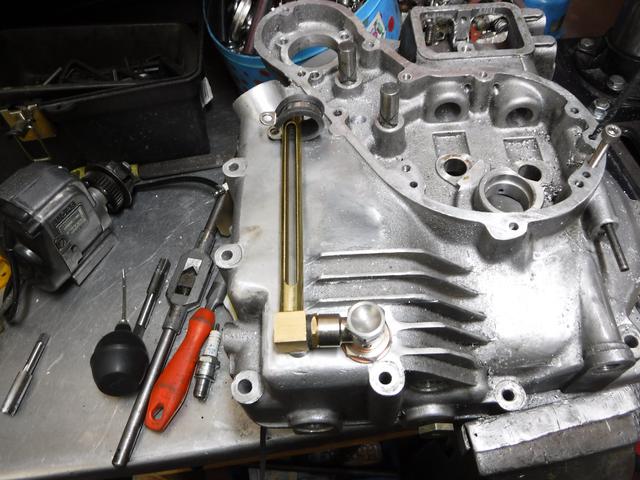
Of course the risk with this is that a pressurized oil tank will simply pump all of the oil out of the top of the gauge, SO I have tapped the drive side oil tank 0.25 inch BSP for a couple of extra breather outlets, which will feed to the air filter. There will also be a Hitchcocks’ breather tower which will serve as the breather input to the oil tank as well as an extra vent. Sorry these two photos are a bit fuzzy.
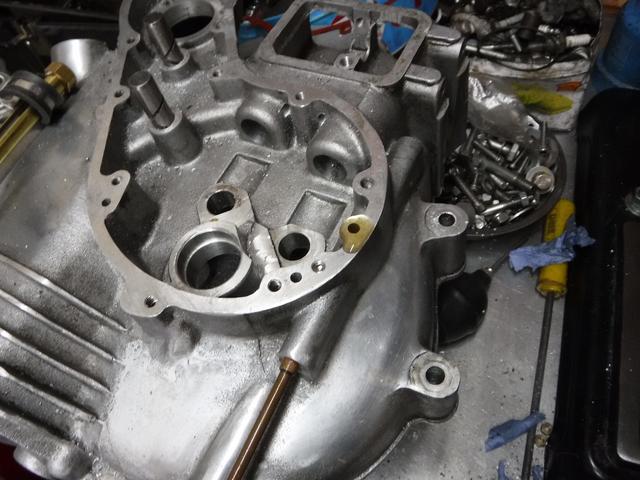
With a freer-breathing oil tank I have opened up the drain hole from the timing chest a bit.
I also noticed that the two fins on the drive side casing stuck out a bit beyond the bottom fin of the Electra-X cyclinder. Also note the 5/16 inch BSC stud holes, but the Electra-X cylinder studs are 8mm/M8. More on that later.
Giving the fins a quick trim is easy enough, though.
Now the replacement crankcases are from an electric start Bullet. The will make using the Electra-X rocker oil pipe easy but will cause some extra work where the primary cover is concerned. Why?
The kick-start chain case mounting holes are in the wrong place.

The stud holes are actually a couple of mm oversize, so I used a 10mm drill to mark the spots for drilling, lined up on a 5/16 inch BSF stud in the chain adjuster stud hole.
Then it’s a case of 3 x 6.8mm holes (tapping size for the M8 thread)
Get in there with the M8 taps.
There we are, it seems to be in the right place.
.
OK. now what about those cylinder studs? Well, I had thought about getting the stud holes helicoiled for M8 studs, but having a closer look at the threads they seem to be in very good condition, shame to disturb them. So we're looking for a set of 5/16" studs the right length. However I am now addicted to using M8 flanged stainless steel nuts on my AVL engines. This may be bad practice, but I ended up getting some custom made studs from EN16T, 5/16" BSC at the crankcase end, M8 on top! They may need trimming a little as stock length AVL studs leave a large chunk of exposed thread at the top, that always looked wrong to me.

There have been another couple of shifts in the project too.
During one of my conversations with John Hutchings he told me about the tuned Bullet he had built with a Lucas SR1 magneto, but running fixed ignition advance. Fancy kick-starting one of those? John assured me you can, it's perfectly OK if you use the proper starting drill and keep the throttle closed. However, other people would want to borrow the bike, which was a good performer, only to find that, when they ignored his instructions and tried to start with the throttle open, the bike would kick back rather assertively. In order to reduce the instances of ankle injuries he reluctantly fitted the auto-advance magneto pinion which made starting less risky. The down side was that the performance lost some of its sparkle, as the fixed advance gave a livelier engine at all revs once the thing was safely started.
So could I carry on with the SR1 but just fit a plain timing pinion and leave the auto advance on the bench? Hmm, I find that getting older seems to take its toll on any gung-ho I might ever have possessed. WHAT ABOUT a manual advance and retard magneto? That was good enough for my father and his bikes.
Right, game on. Which mag, though? Well some kind of platform mounted magneto would certainly look classic, and as Grumbern has shown with Project Laubfrosch, modifying the Indian Bullet crankcases is just a question of some accurate machining and a couple of adapter plates, but I do not have the equipment, skills or patience for that, now matter how great a BT-H KD1TT mag would look or perform, or even a vanilla Lucas N1, more within my price range.
OK, flange mounted it is then, but the SR1 manual advance magnetos don't exist apart from home-brews, so what am I left with? Lucas K1F or BT-H KC1? Well the answer came at the Beaulieu Eurojumble (swap meet) in September, I found a just about working working but very much in need of overhaul KC1 at an affordable price. Now there are a couple of issues with this, but it's the one.
First off, it didn't have the manual advance end plate, most likely it was off a Velocette with an auto advance drive pinion. However, speaking to the magneto repair man, I was informed that he had the parts to fit the manual advance during the overhaul, so that is taken care of.
Second, the magneto doesn't fit! Although it is flange mounted, the K1F/KC1 flange is larger, same as on the later RE twins the raised section in the middle of the flange is about 2"/50mm, the hole in the back of the crankcase is 1 5/8" or 41mm to fit the SR1 (originally). We'll see about that.
Machining a shallow recess (no more than about 3mm) in the back of the timing chest shouldn't be too hard with suitable hole saw, I just need to get it lined up accurately.
The flange size actually isn't such an obstacle either. I have an old alloy adapter plate used for fitting K2F magnetos to RE twins.As the SR2 magneto the twins originally used has exactly the same body shell casting as the SR1, and thus the holes for the three 1/4" screws in the back of the twins' crankcases are in the same position, all the holes line up, so it was just a case of using the plate on the back of the mag to mark the hole centers, then drill and tap for three 1/4" BSF screws
Still doesn't fit?
Also I trimmed the area around the bottom mounting hole on the mag as clearance on the Bullet crankcase is tight. Took off just enough to allow it to fit , but still leaving plenty of metal in case it ever has to go back on a Velocette. The breather pipe unions will need some more thought as to how to route the breather hose given the extra length of the BT-H magneto, no big deal.
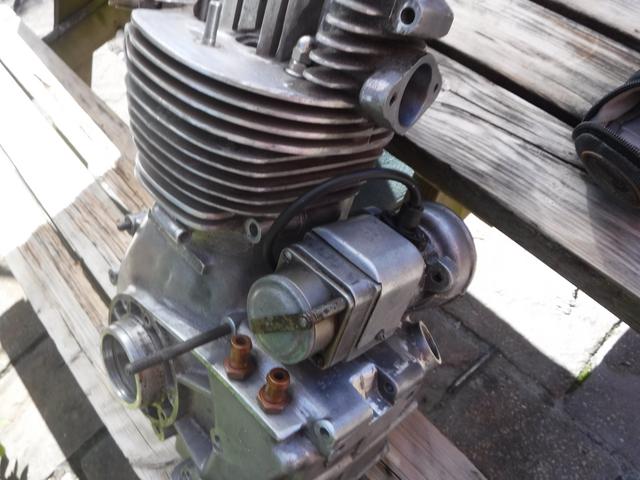
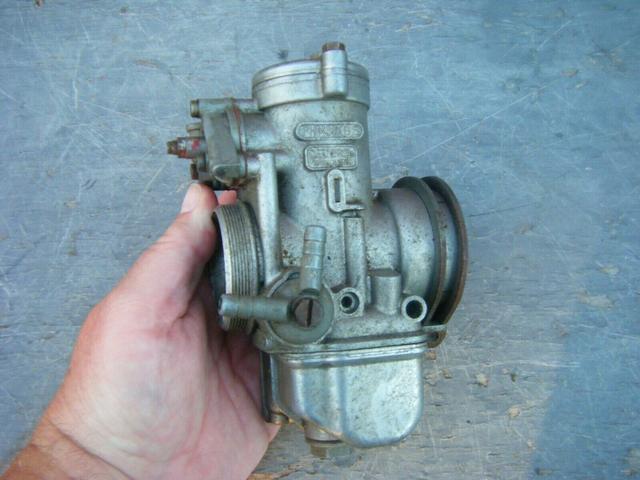
You might have noticed the tuned head from the inlet port. This was originally opened out for fitting a big 36mm Mikuni on my old Electra-X, though on remeasuring the hole I found that it was nearer 38mm or 1.5". Big hole.
Now it would be very easy to adapt a 1.5" Amal GP carb to go on there, though for street use that might not be the wisest choice, however cool it might look. But then a 38mm Dell'Orto PHM carb from a BMW R90S came up on ebay, which is definitely a performance carb. That is now waiting to go on, which it can once I get a custom alloy mount made up.
That's it for now, I have plenty to do getting the Electra flat-tracker finished, and the magneto won't be back until some time in January, so I'm hoping we'll see a lot more progress in the new year.
A.
 Topic: Time for Another Project (Read 12987 times)